
Drawing-based spur development
Custom English Spurs for Your Boot Range
Build an English spur around the boots and straps your brand intends to sell. We manufacture from customer drawings and support your logo, with the heel band, slots, neck and terminal defined together. Start with one finished boot and the fit you want to retain, then agree a sample that lets your team review geometry and appearance on the same product.
Use a Recognizable Construction as the Starting Point
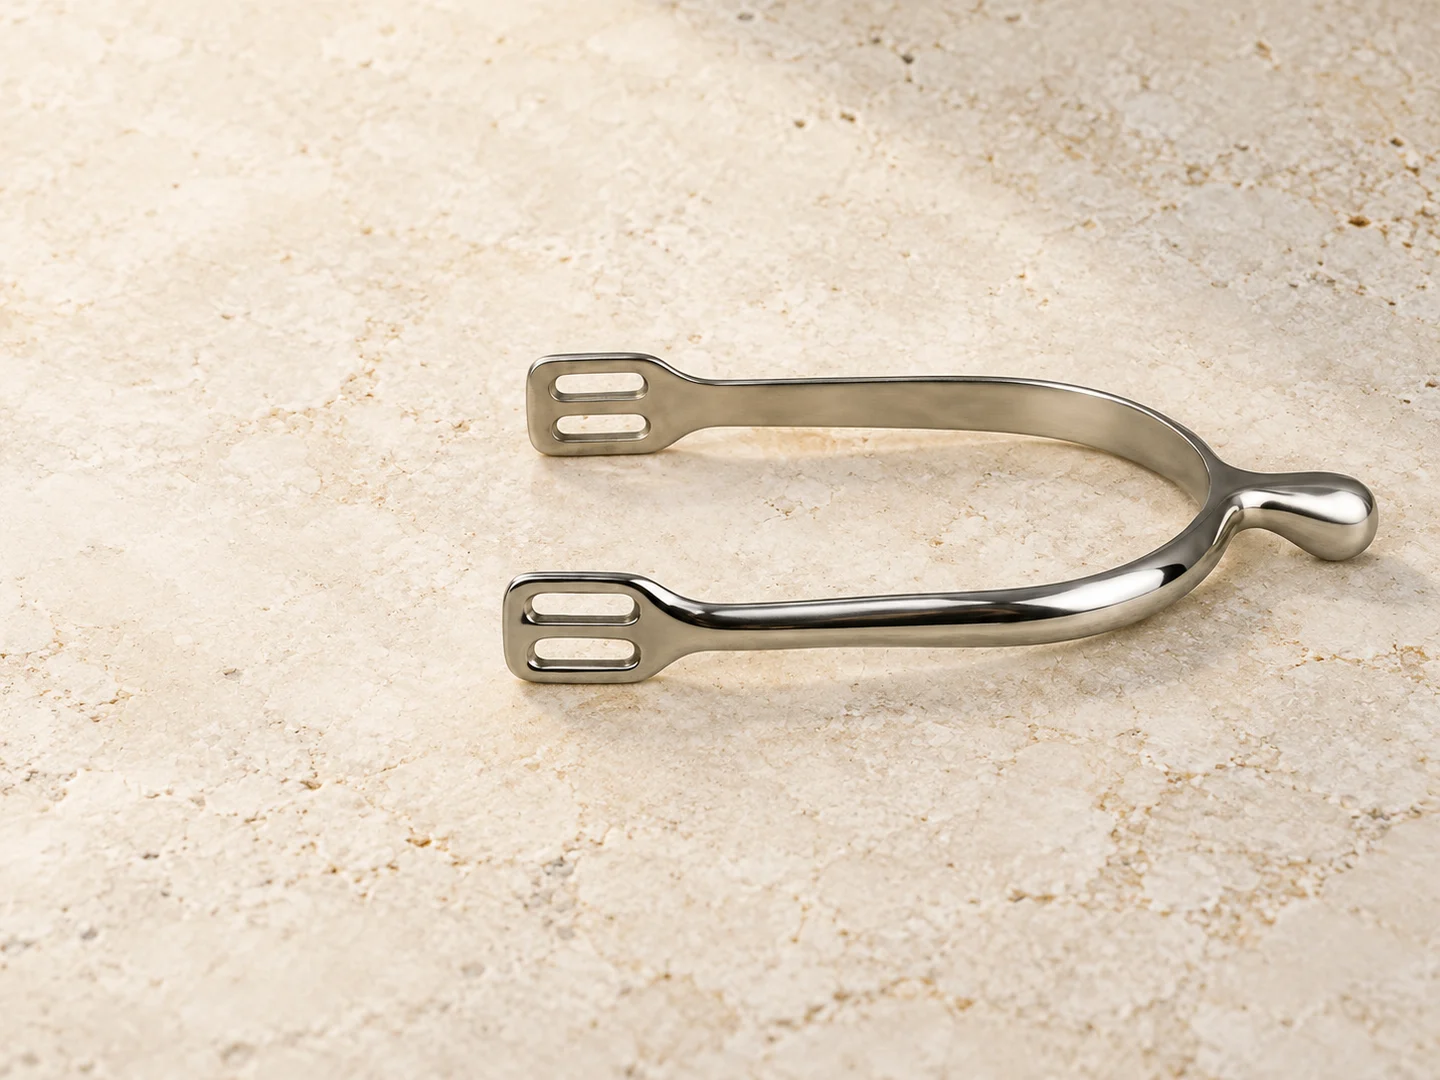
Make the boot connection the starting point for development. Relia produces its own spurs and accepts your drawings and logo. Our material, dimensional, appearance and assembly-fit checks follow the finished band, strap slots and terminal, helping your team retain the intended fit as the size or artwork changes.
Use a recognizable construction to explain your design. The 1318-34R Prince of Wales has a 20mm label, while the 2581-4R swan-neck has a 50mm neck reference. Knob-end and hammer-head forms offer other terminal directions. Your drawing sets the actual boot interface and measurement endpoints.
Define the Boot Interface Before the Neck
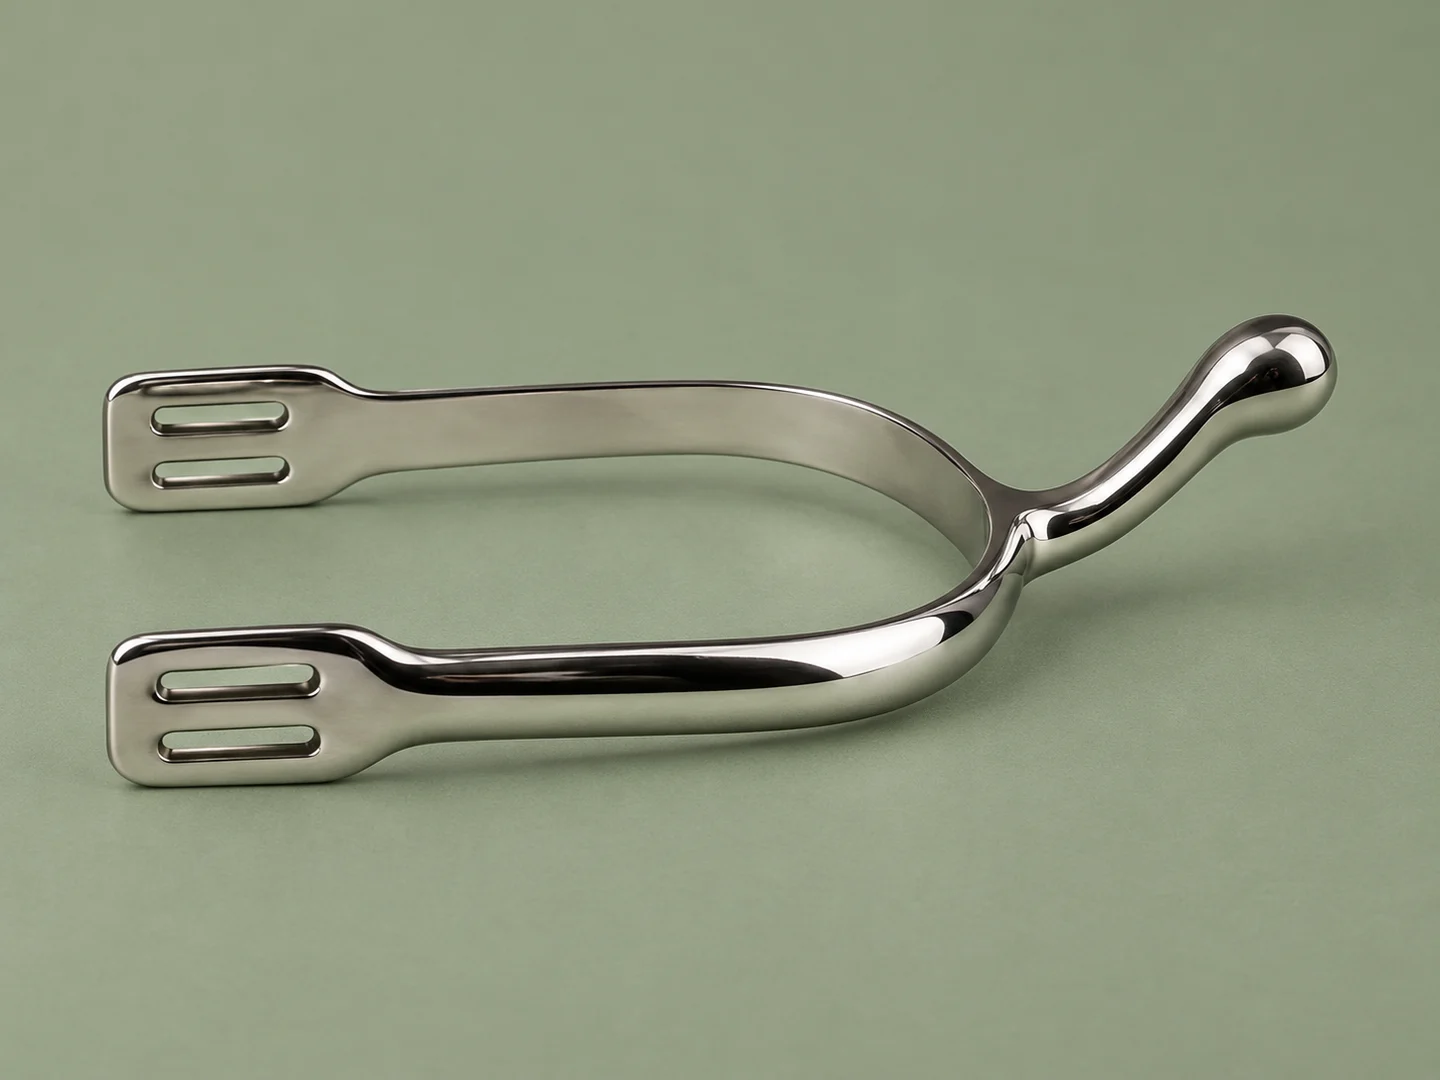
A heel-band shape and a terminal length solve different parts of the design. Put the boot-contact envelope and strap route on the same revision so a neck change does not quietly become a different fit. Add a boot reference when its heel shape controls the band.
| Interface | Mark on the drawing | Review with |
|---|---|---|
| Heel band | Opening, curvature and contact envelope | The intended boot heel |
| Strap slots | Clear opening, orientation and strap route | Actual strap width and thickness |
| Neck and terminal | Origin, direction, length and end profile | Band position and intended use |
Connect the Drawing to the Making Brief
The band curve, slot ends, neck transition and terminal define the features to make. We select the forming route for the design, with machining or welding where required, then polishing, surface treatment and assembly. Each operation is connected to the finished contour, opening, junction or surface your drawing specifies.
We check materials, dimensions, appearance and moving parts or assembly fit. Use the intended boot and completed strap to review the band and slot route, then compare the neck and terminal against their named reference view. Approve the logo and finish with that same product revision so a brand change does not conceal a different fit.
- Geometry
Identify the band, slot and terminal features that control the product.
- Material and surfaces
Allocate each part and describe the required finished appearance.
- Sample scope
Choose the drawing features and boot arrangement to review together.
Keep the Strap Path Clear and Measurable
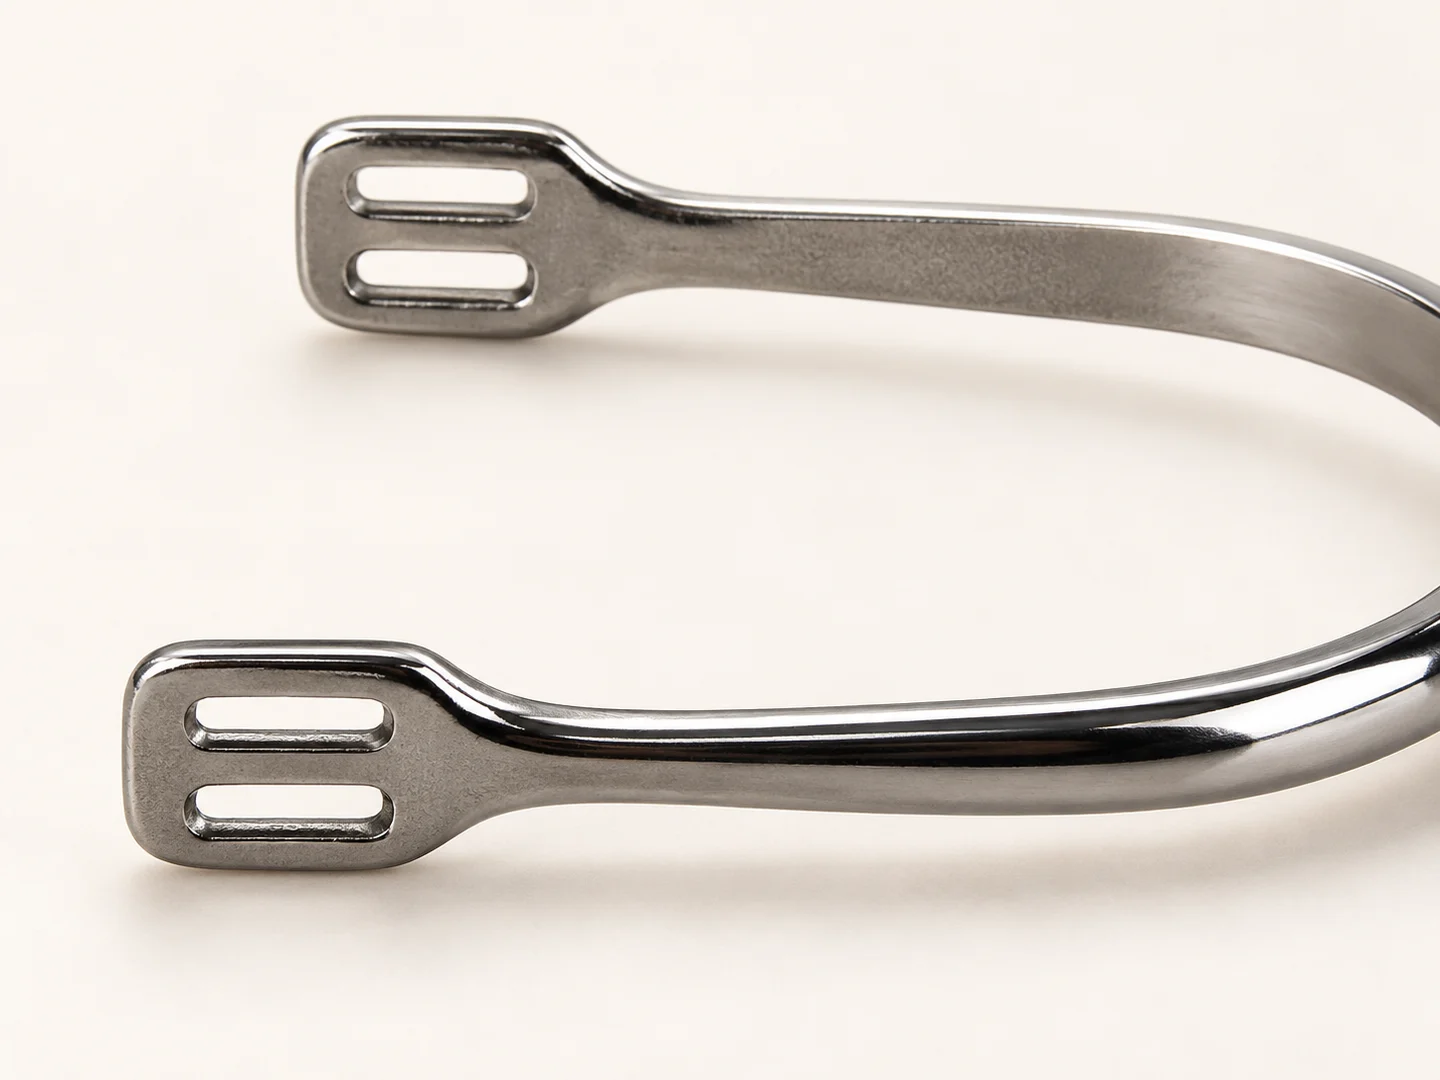
Slot length, width, edge shape and orientation affect how the strap sits through the end tabs. A useful custom brief shows those features directly instead of carrying over the outline of a photographed spur. Link the boot and strap fit discussion to the dimensions on your drawing.
Specify a Terminal Profile with Its Neck
A terminal description should identify the shape, the transition into the neck and its orientation relative to the band. Record those details with the drawing revision. A hammer-head or knob-end name helps describe the family, while the marked profile defines the version you are commissioning.
Locate the neck from a stated band face or centre reference.
Show the actual end shape and edge transitions in a useful view.
Keep the terminal direction and strap route together in the assembly drawing.
Place Your Logo on the Exact Product Version
Customer-logo customization belongs with the product drawing. Send clean artwork, the intended face, approximate size and reading direction. We can then discuss the application for that geometry and selected finish. Agree the method and sample appearance for the project rather than treating a logo file as a complete branding specification.
| Item | Useful definition |
|---|---|
| Artwork | The logo file and the revision you want to use |
| Placement | A marked face and position on the exact band or neck |
| Appearance | Size, direction and the finish sample to compare |
| Version | The product drawing revision that carries the artwork |
Read the Finished Transition in a Close View
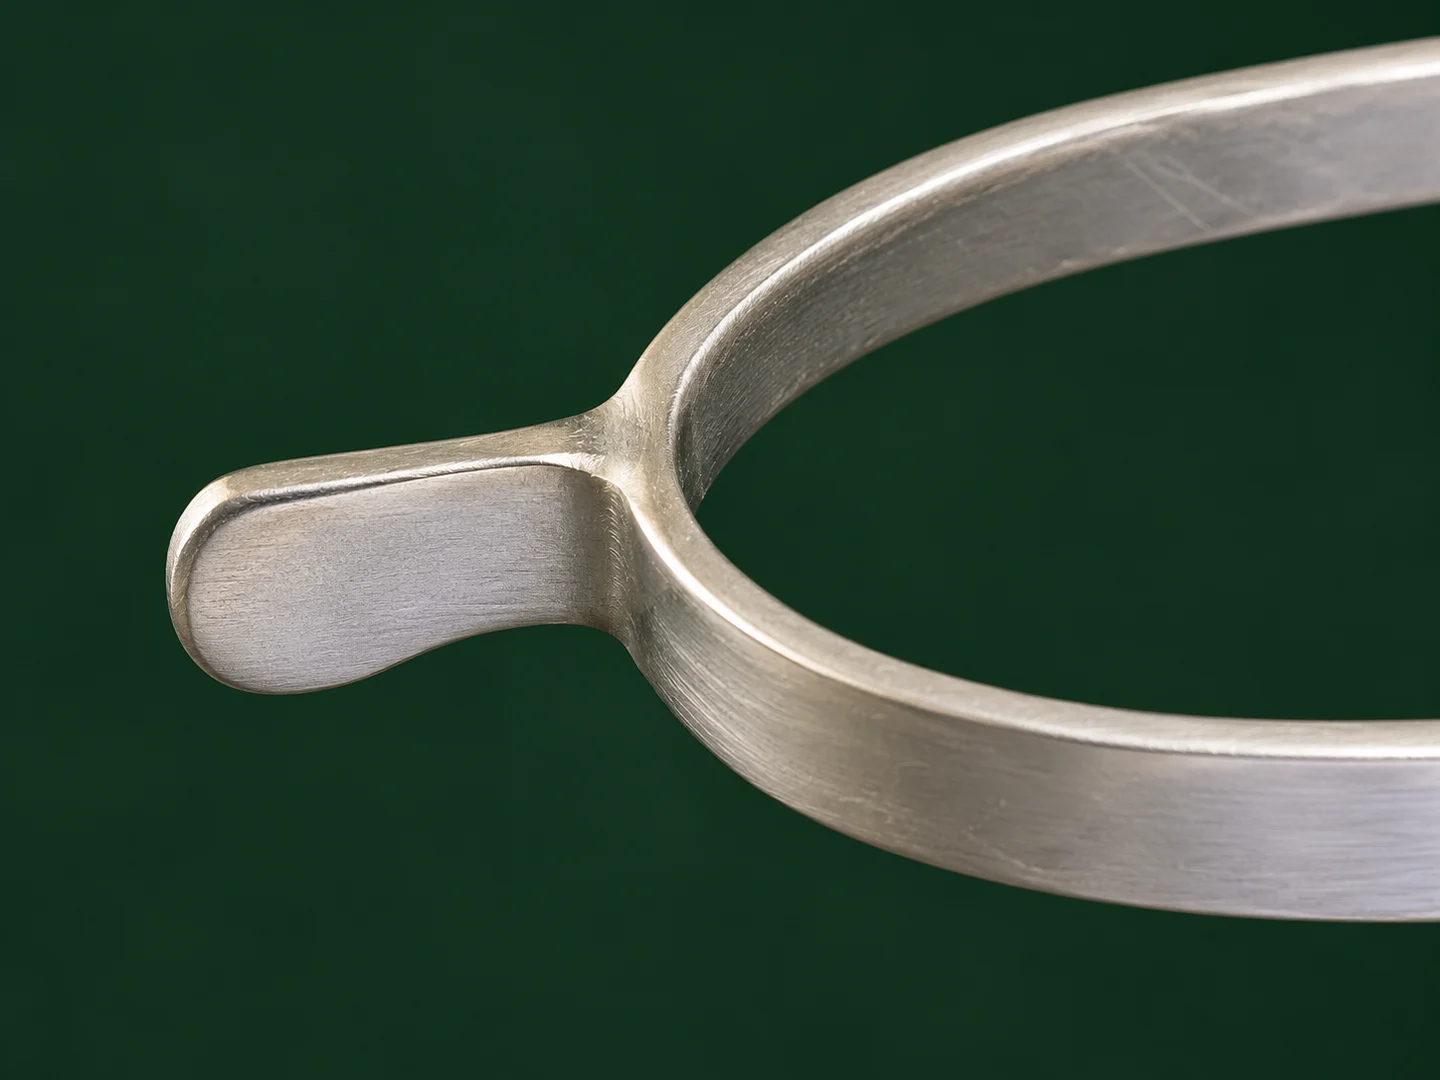
The band-to-neck transition and end face deserve a close sample view as well as a complete-product view. Use the product range’s distinct end forms to explain your design intent. For separately controlled left and right versions, continue to the paired boot-collection development page.
Approve a Defined Drawing and Sample Together
Keep one working revision for the sample discussion. Compare the band and strap arrangement, the terminal profile and the logo appearance as separate decisions, then record the accepted combination. Quantities by version and destination help us discuss the commercial and sample arrangements for the project.
- Send the brief
Drawing revision, boot reference, strap details and logo artwork.
- Review the sample
Compare fit geometry, finished edges, terminal and branding.
- Confirm the version
Record accepted changes and quantities against one revision.
Bring the Boot Reference and Spur Drawing
Send your heel-band and neck drawing, strap dimensions and the proposed logo position. Tell us the boot collection the spur will accompany and which design decision the first sample should resolve. Send the brief to info@reliasaddlery.com, call +86 18561762631, or use WhatsApp +1 404 203 0971. Qingdao Relia Saddlery Co., Ltd., Changjiang Road, Qingdao, Shandong, China. You can also start your enquiry with our team.
- Choose the productSend the model code, product link or your drawing.
- Describe your versionInclude the size, construction or appearance you need to discuss.
- Plan the next stepAdd quantity and destination, then agree the sample and quotation scope with us.