
Separately defined paired spur projects
Custom Left and Right Spur Pairs
Create a spur pair around separately defined left and right boot drawings. We manufacture spurs from customer designs and support your logo, with orientation, fit and paired contents agreed together. Show the differences each side needs, then choose the boot-fit groups for the first sample. Your collection can retain a clear pair identity through artwork changes and repeat orders.
Treat Range Labels and Pair Identity Separately
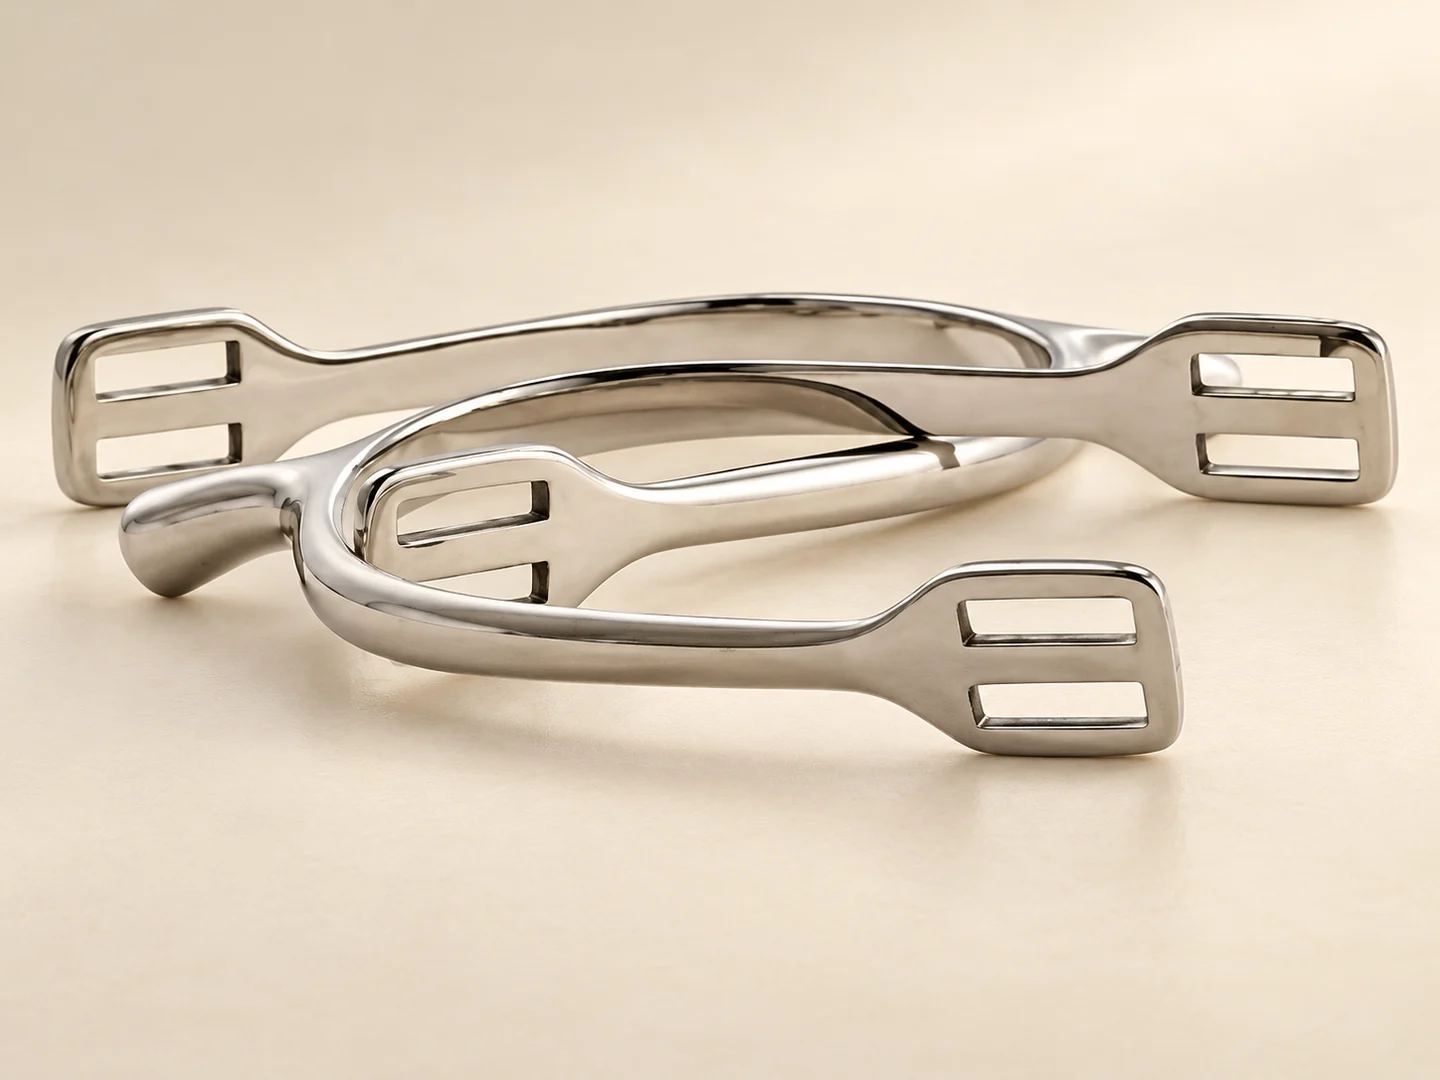
Make the pair easy to identify before adding sizes or finishes. Relia manufactures spurs and accepts your drawings and logo. We review each side's heel band, terminal direction and artwork, with dimensional and assembly-fit checks keeping the two part identities connected to the intended boot pair.
Separate the model label from your paired part identities. The 1318-2 Ladies’ Prince of Wales and 1318-1 Men’s German Style knob-end forms offer different construction directions. For your collection, identify the actual left and right geometry on the drawings instead of using Ladies or Men as a handedness definition.
Give Each Side a Readable Drawing Identity
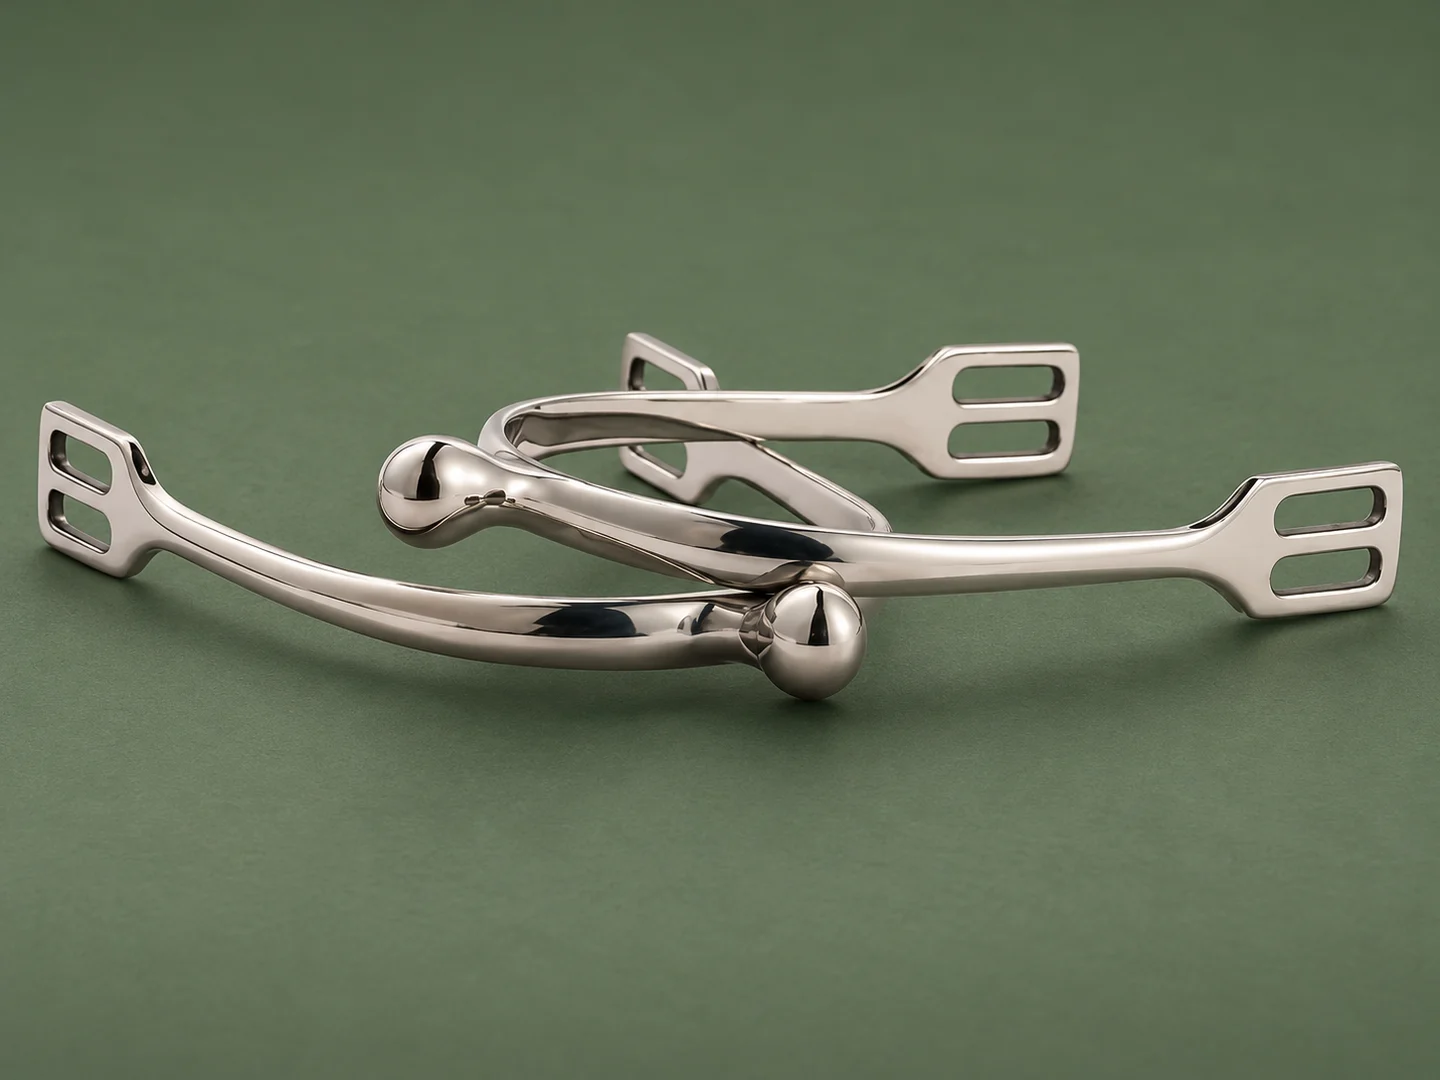
Name the boot side and view direction on each drawing. If a feature is mirrored, state that relationship; if it differs, dimension it separately. Keep strap-slot orientation, neck direction and terminal position tied to that identity so a paired order cannot be assembled from two visually similar but differently defined parts.
| Record | Left spur | Right spur |
|---|---|---|
| Part identity | Separate part reference and drawing revision | Separate part reference and drawing revision |
| Boot reference | The actual left-boot envelope | The actual right-boot envelope |
| Orientation | Strap route and terminal direction in a named view | Strap route and terminal direction in a named view |
| Pair relation | State shared features explicitly | State mirrored or different features explicitly |
Choose Fit Groups from Boot Geometry
A boot collection can change heel shape across sizes or styles. Group the intended boots by the dimensions that affect the band and strap arrangement, rather than assume one spur pair covers a named shoe-size range. Use a representative boot from each proposed group to define the sample discussion.
Band-contact shape and seated position on the actual boot.
Slot orientation, opening and the selected strap dimensions.
The specific boot styles or sizes represented by the sample.
Keep the Neck Direction Visible in the Review
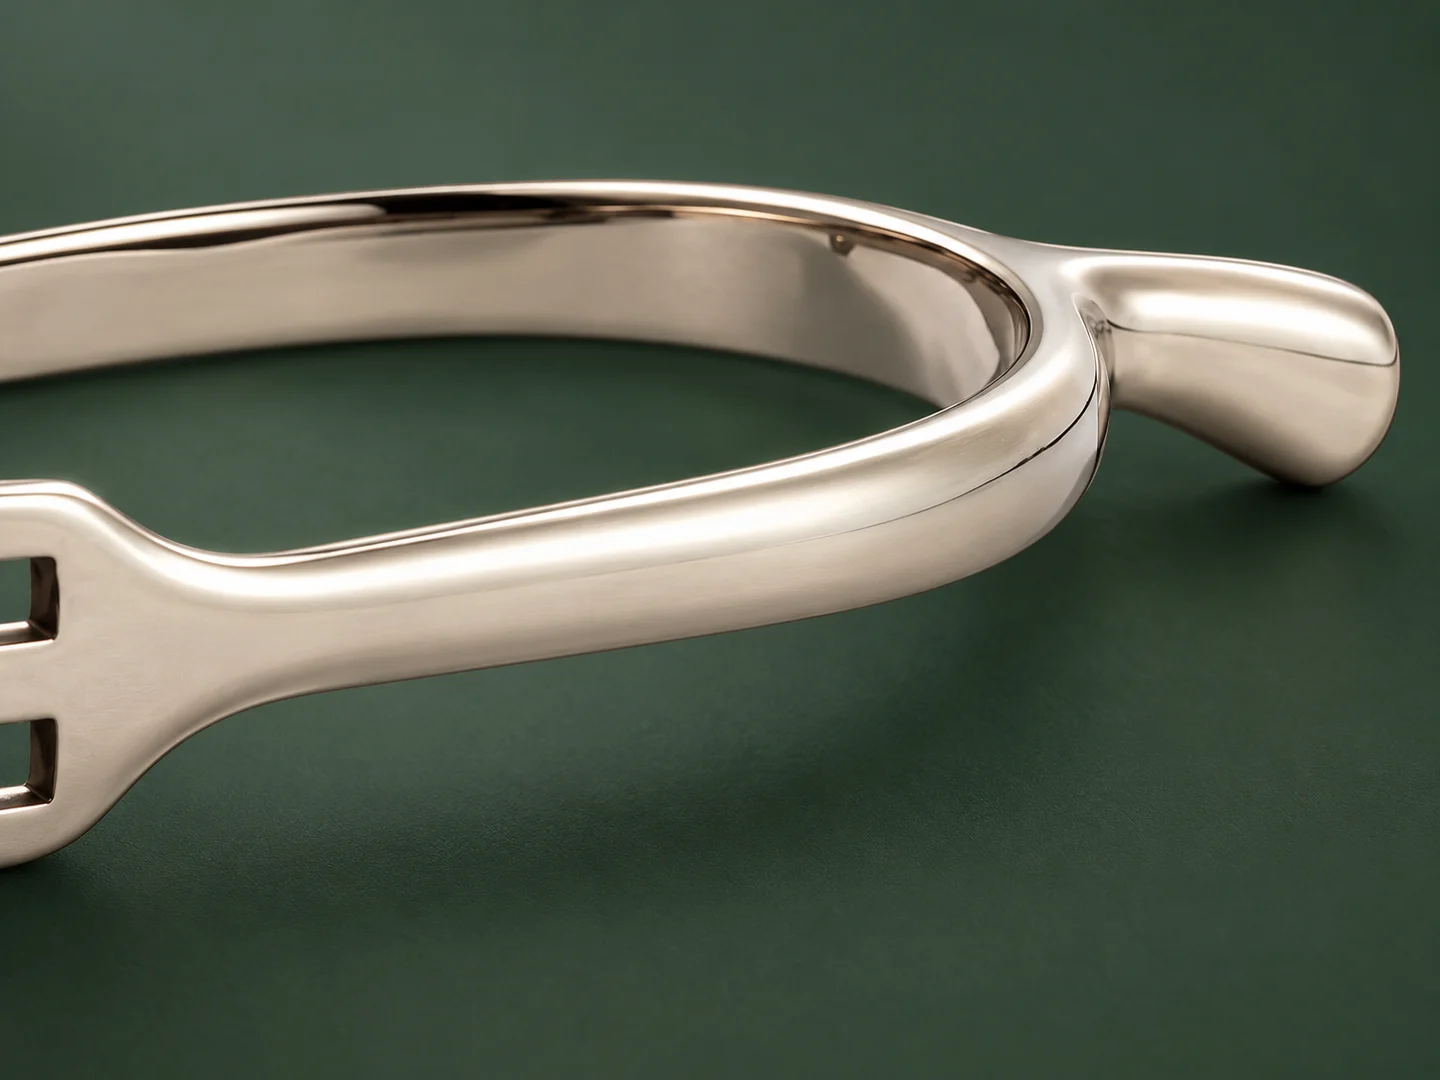
A close view is useful when the neck or terminal orientation differs between sides. Mark the same reference view on both drawings and compare it with the sample views. The general English spur drawing page covers band and neck development before you extend it into paired versions.
Define Logo Reading Direction on Both Sides
A single artwork file can still require separate placement views. Show the intended face and reading direction for the left and right spur on their own drawings. We can discuss the application and sample appearance while keeping the product identity, artwork revision and side-specific placement connected.
| Shared information | Side-specific information |
|---|---|
| Logo file and artwork revision | Left or right part reference |
| Selected appearance | Exact face and marked location |
| Agreed application for the project | Reading direction in the named view |
| Collection identity | The drawing revision carrying that placement |
Keep a Change Visible at Pair Level
A revised left component should remain connected to the right component it belongs with. Record which drawing changed and whether the paired configuration also changes. This gives a boot-brand team a clear way to extend the range without silently mixing sample revisions in one pair.
Each side's drawing guides the forming and any machining or welding work, followed by polishing, surface treatment and assembly. Keep strap-slot orientation, neck direction and terminal geometry connected to that individual part; a shared finish does not make the two drawing identities interchangeable.
We verify materials and dimensions, inspect appearance and check moving parts or assembly fit. Compare each finished part with its intended boot reference and logo-placement view, then review the accepted pair together. Record both part revisions and the actual paired contents so a later change to one side cannot quietly mix versions.
- Part change
Identify the changed side, drawing and feature.
- Pair review
Check its relation to the other side and the intended boot group.
- New baseline
Record both part revisions and the accepted paired contents.
Review the Actual Terminal on Each Part
The terminal profile, neck transition and direction belong to the individual part definition even when the pair shares a finish. Use a close sample view for each side that needs a distinct check. The model knob-end example is a shape reference, with your drawing defining the new paired arrangement.
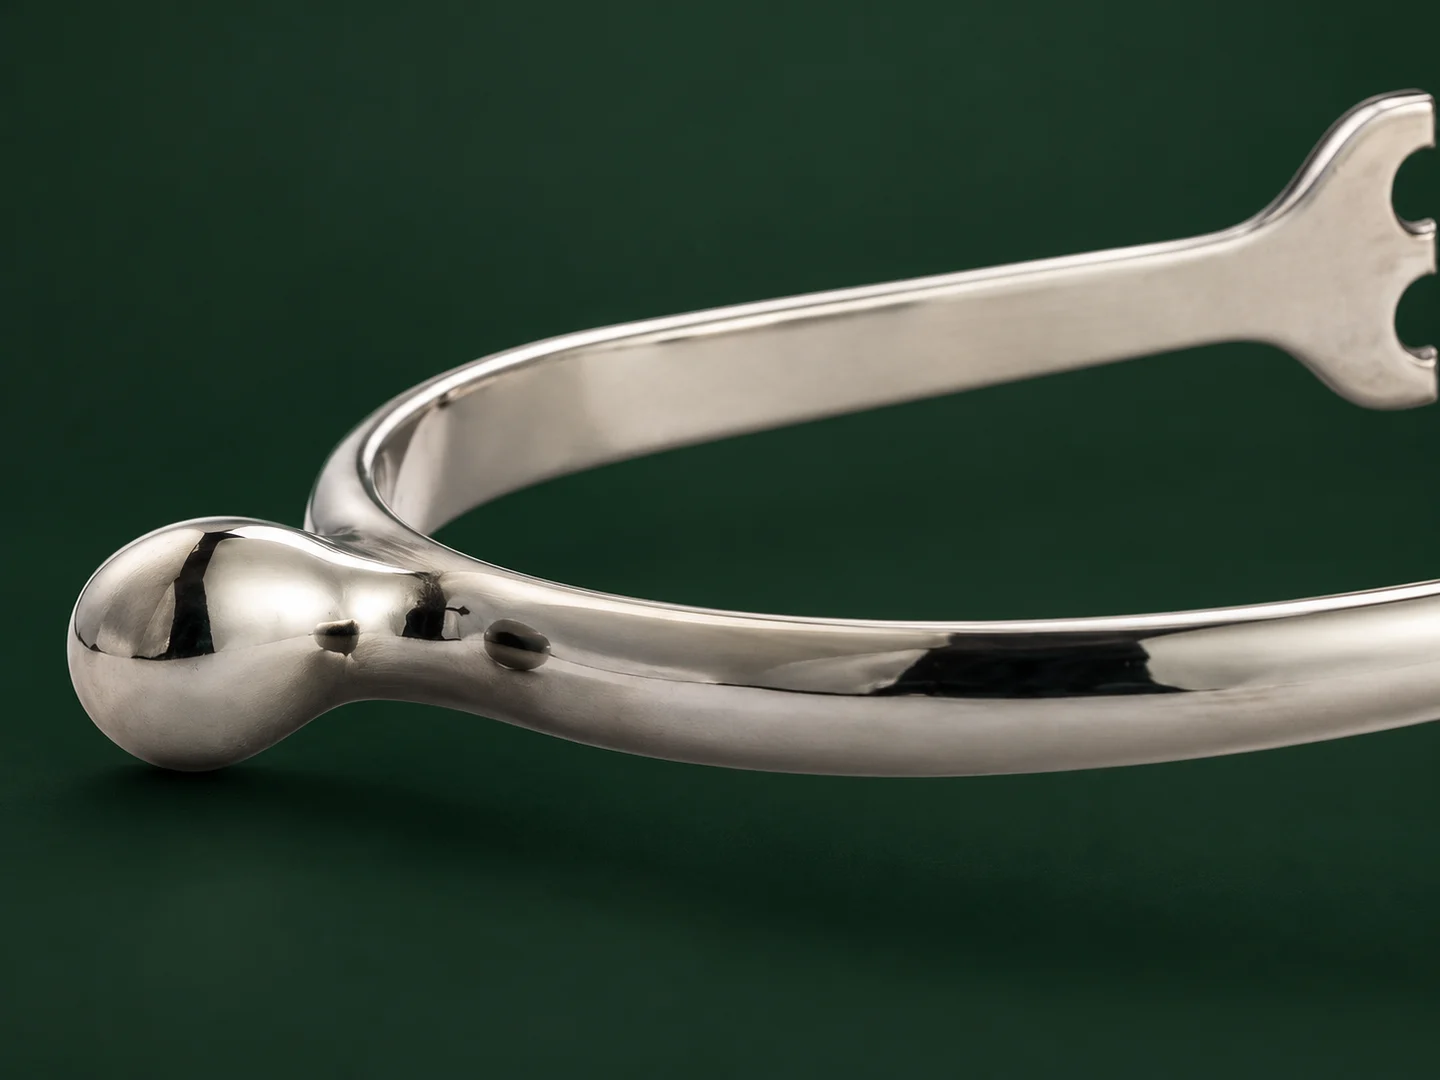
Describe One Pair as an Explicit Contents Line
Write the paired contents as one left part and one right part with their drawing revisions. List straps or other included components separately, and give quantities by boot-fit group. That keeps an order’s pair count distinct from individual component counts and from model labels such as Ladies or Men.
| Line detail | Record |
|---|---|
| Pair identity | Left part reference plus right part reference |
| Accepted versions | Drawing and artwork placement revision for each side |
| Included items | Each agreed strap or accessory named separately |
| Range quantity | Number of pairs by the actual fit group |
Send Both Boot-Side Drawings and the Pair Brief
Share separate left and right drawings, the boot references they follow and each logo placement view. Add quantities by fit group and describe whether the first sample should resolve handing, fit or collection appearance. Send the brief to info@reliasaddlery.com, call +86 18561762631, or use WhatsApp +1 404 203 0971. Qingdao Relia Saddlery Co., Ltd., Changjiang Road, Qingdao, Shandong, China. You can also start your enquiry with our team.
- Choose the productSend the model code, product link or your drawing.
- Describe your versionInclude the size, construction or appearance you need to discuss.
- Plan the next stepAdd quantity and destination, then agree the sample and quotation scope with us.