

Artisan engraving · wholesale & OEM
Hand-Engraved Horse Bits, Spurs and Stirrups for Your Brand
Bring your decorative idea to a manufacturer that understands the complete product. Relia offers artisan hand engraving for agreed decorative areas on horse bits, spurs and stirrups. Choose an existing construction for wholesale development, or send your drawing, pattern direction and own logo. We keep the artwork connected to the selected surfaces while the working geometry and supplied parts stay clearly defined.
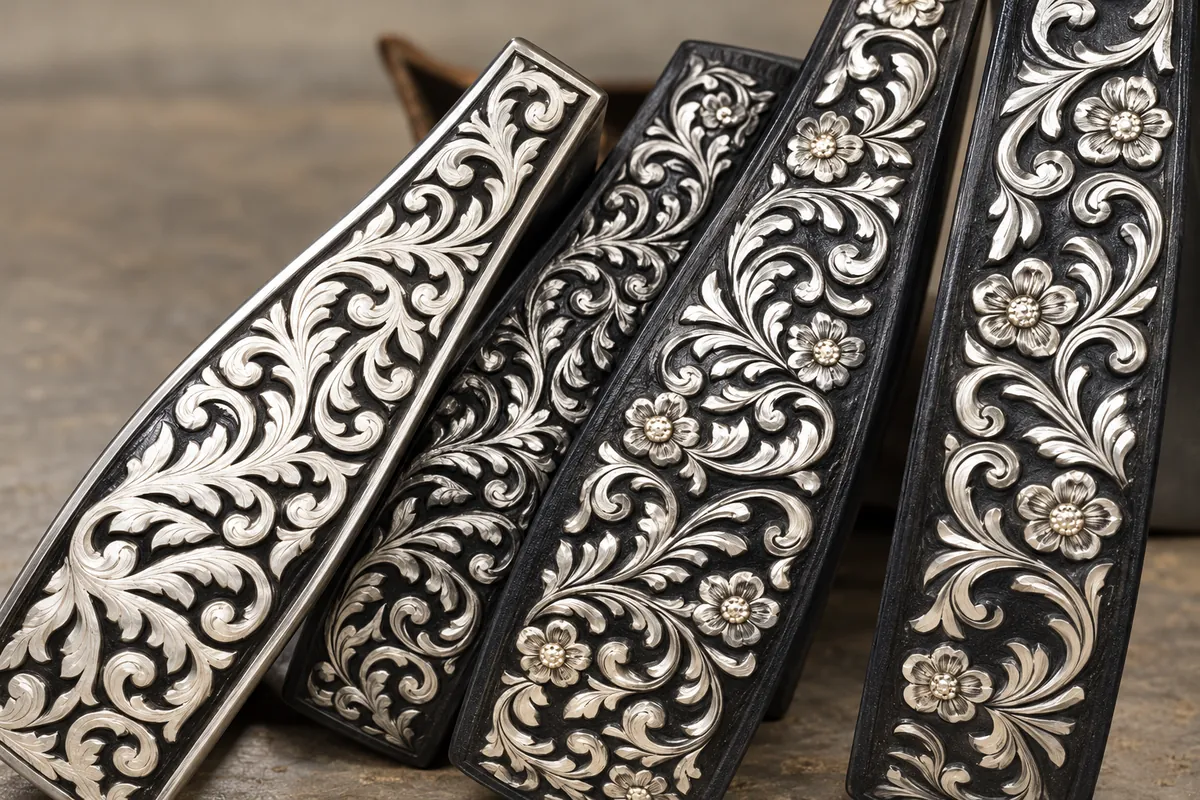
Manufacturing and hand-guided detail
Craftsmanship Within the Product Build
Relia manufactures horse bits, spurs and stirrups in Qingdao, China. Our artisans create decorative engraving by guiding their tools by hand, with different patterns developed for the chosen areas. A spur band, stirrup side and bit cheek offer different shapes and access, so the decorative plan follows the part rather than being copied unchanged across the range.
The underlying product still has its own material, dimensions, finish and assembly requirements. We connect the hand-worked appearance with that product brief, including customer drawings and logo layouts, so you can review the decorative result as part of a complete wholesale or OEM version.
Explore our production approach · Choose your custom product route
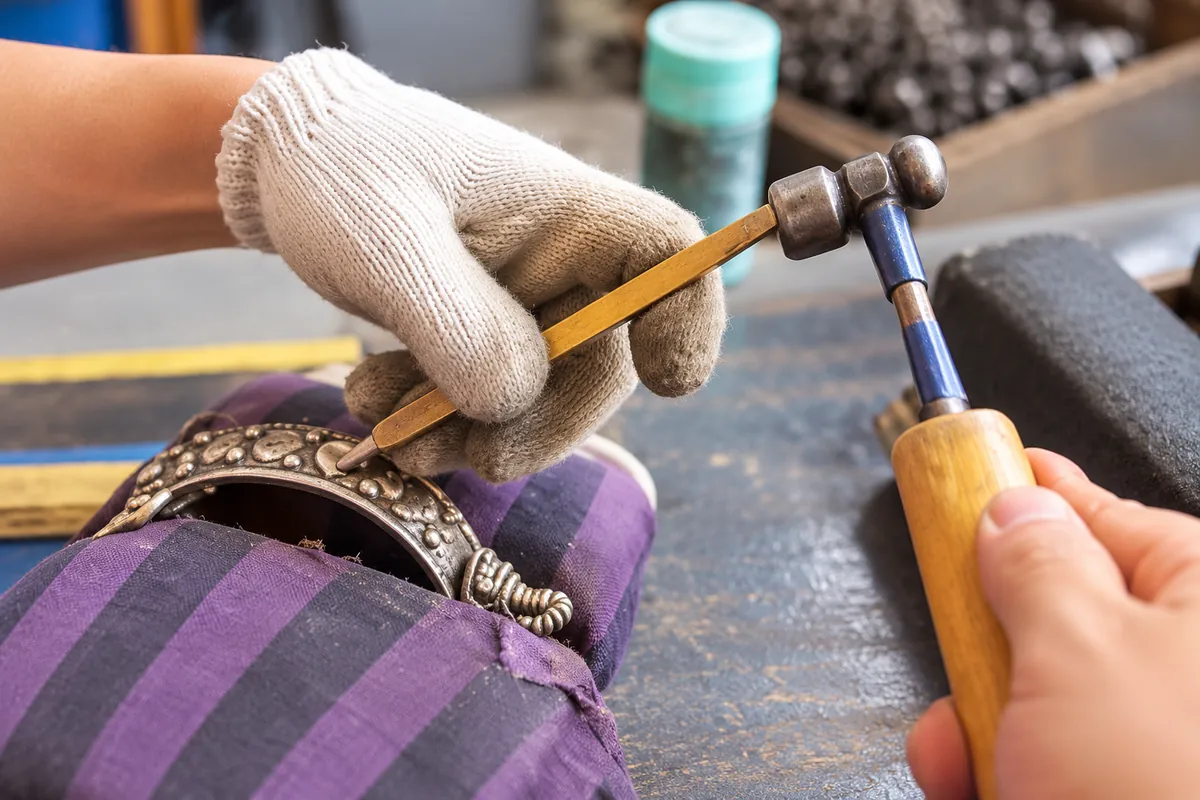
From motif to physical detail
A Pattern Develops on a Defined Surface
Start with the motif you want and the actual component it will decorate. A flat sketch and a curved metal band present the artwork differently. Agree the boundaries, scale and direction first, then review how the hand-guided lines read on the part before extending that appearance to the rest of the range.
Map the area
Mark the external decorative surface, borders and features that remain clear.
Set the pattern
Agree motif size, line direction, spacing and the relationship to the part.
Guide the work
The artisan supports the chosen component and guides the engraving tool by hand.
Review the result
Compare the physical detail and intended finish on the selected product version.
A drawing change to the band, frame, cheek or fixing arrangement remains a separate product revision. Keep the approved working interfaces with the decorative sample.
Three products · three decoration plans
Place Decoration Around the Product Interfaces
Choose the visible areas you want to carry the pattern, then keep the attachment and moving features on the same drawing. Decorative work is planned for the selected surfaces; it does not mean every part of every model receives engraving.
Cheek Faces and Agreed Trim
- Decorative direction
- External cheek faces and selected ornamental pieces, following the chosen outline.
- Keep defined
- Mouthpiece, cheek geometry, joints, rings and attachment points.
- Useful drawing detail
- Mark the pattern boundary and any area that stays plain around a connection.
Outer Band and Selected Shank Areas
- Decorative direction
- Pattern scale and borders around the outer heel band or agreed shank surface.
- Keep defined
- Heel-band fit, shank direction, strap route and specified terminal or rowel assembly.
- Useful drawing detail
- Show left and right orientation, the complete band and any strap slots or buttons.
Side Panels and Agreed External Faces
- Decorative direction
- Motifs arranged for the actual side-panel width, curve and visible surface.
- Keep defined
- Frame opening, usable tread, upper connection, pad boundary and supplied fixing parts.
- Useful drawing detail
- Keep the engraved area separate from the upper interface and tread arrangement.
Decorative language and brand identity
Give the Pattern and Logo Separate Positions
Floral detail, scrolling lines and simpler motifs can create different visual directions. Bring a sketch, pattern reference or the look you want to develop. We can discuss varied patterns around the chosen part, including how a border or repeat changes when it reaches a curve.
Your logo has a separate job. Keep its exact artwork, size, orientation and position clear, then agree how it will be applied to the selected surface. A decorative repeat and a readable brand mark need their own layout decisions even when they share the same product.
Pattern plan
Motif, scale, border, direction and the areas that remain plain.
Logo plan
Your artwork, size, orientation and intended placement on that version.
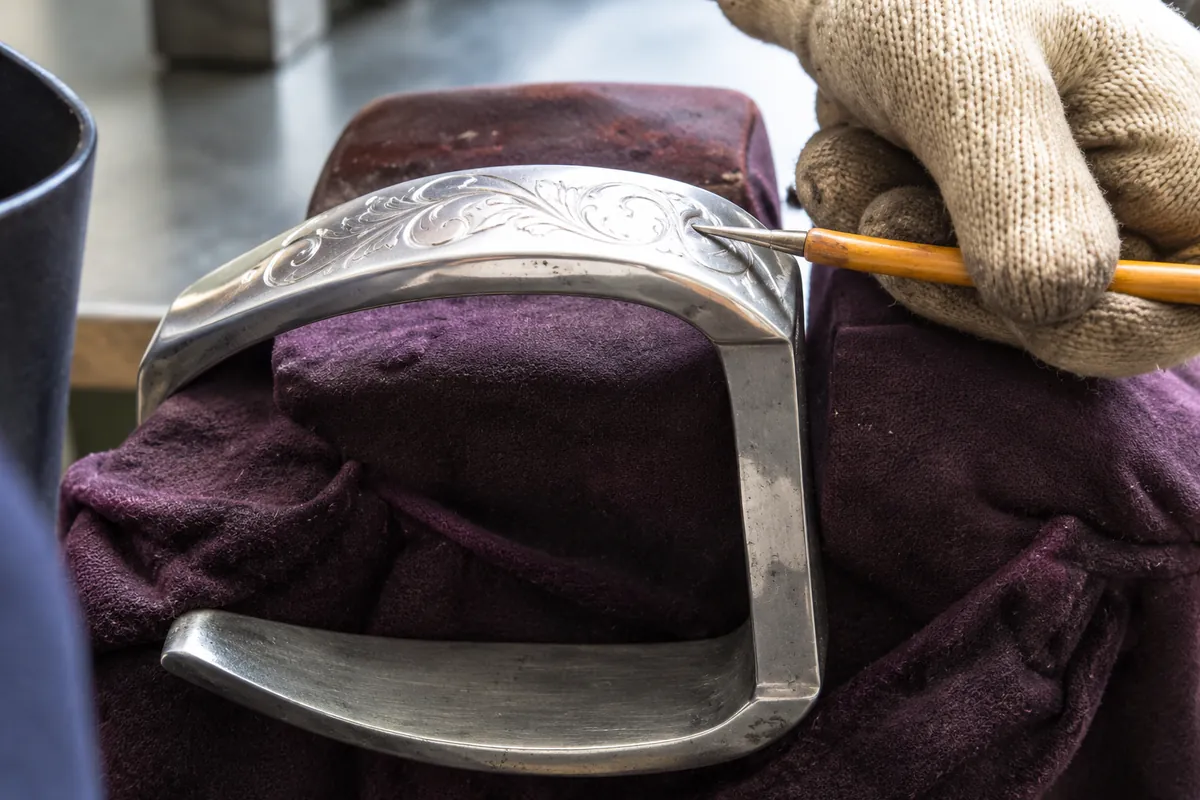
Curved surfaces and paired direction
Compare the Pattern at the Scale You Will Sell
A pattern reads differently on a narrow spur band, a curved stirrup panel and a broad bit cheek. Compare the motif at the size you intend to supply, with its borders and blank areas visible. For paired products, place left and right layouts together and state whether the direction repeats or mirrors. Compare that layout with the physical sample, using enlarged detail to support the full-size view.
Balance Detail and Open Space
Keep motif scale, spacing and the chosen plain borders on the actual surface layout. A dense flat graphic can occupy the available area differently when it follows a curve.
Choose the Left and Right Direction
For a pair, identify the outward-facing areas and agree repeated or mirrored direction. Keep both layouts together so the second part is not left to interpretation.
Use the Layout Beside the Part
Compare a dimensioned layout or actual-size print with the sample. Review the complete field first, then use close views to discuss individual lines and borders.
These layout diagrams explain the decisions. Your selected product dimensions and agreed pattern define the actual decorative area.
Decorative sample and complete assembly
Approve the Detail Alongside the Complete Product
Use the physical sample to review the pattern spacing, borders, visible lines, logo position and intended surface appearance. Hand-guided detail has its own character; a chosen sample gives both teams a concrete appearance to discuss and carry into the agreed version.
We also check materials, dimensions, appearance and relevant moving parts or assembly fit. For an engraved product, keep that review connected to the bit joint and cheek, spur band and rowel, or stirrup frame, tread and upper interface. The decoration and the working assembly belong in one approval record.
- Artwork alignment
- Pattern boundary, motif direction and separate logo placement.
- Surface detail
- Visible lines, borders, spacing and the agreed finish appearance.
- Product fit
- Critical dimensions, attachments and movement or fit for the chosen assembly.
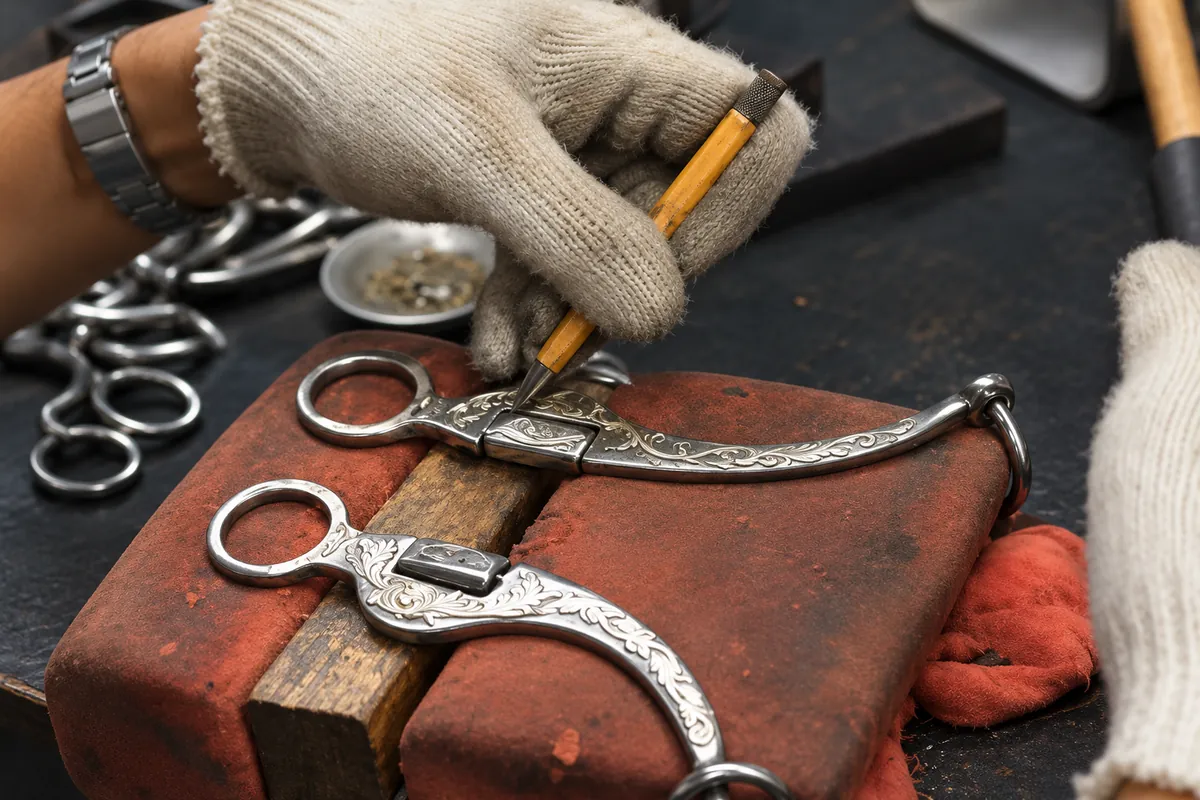
Choose the next product decision
Build the Range Around a Suitable Base
Use the linked products to explain a starting shape, then define the hand-engraved areas for your own project. A product link helps compare construction; the pattern, materials and supplied parts for the custom version stay with its drawing and accepted sample.
Set the Cheek and Mouthpiece
Choose the functional arrangement before mapping the decorative cheek faces.
Set the Band, Shank and Rowel
Keep boot fit and strap attachments visible while you compare the decorative direction.
Set the Frame, Tread and Upper Fit
Map the visible side panels around the frame and the connection your design needs.
Your product · your pattern · your brand
Send the Product and Decorative Direction
Send the model or complete drawing, the areas you want engraved and your pattern reference. Add your logo artwork if needed, quantities by product or version, and the delivery destination. We can review the construction and decorative scope together, then agree the next sample discussion.
Define the Base
Product link or drawing, critical interfaces and supplied component arrangement.
Map the Artwork
Pattern direction, decorative boundaries, logo artwork and its separate position.
Describe the Range
Quantities by version, proposed finish and delivery destination.