Specify the strap interface before choosing the finish
A useful horse tack buckle enquiry identifies the opening the strap passes through, the pin arrangement and the thickness of the assembled strap. Overall width alone cannot describe that interface. Two buckles can look similar in a catalogue photograph while differing at the bar, corner radius, pin or usable opening. Give each selected reference its own measurement record before comparing appearance or requesting quantities.
For a retailer replenishing a known fitting, the starting point may be an existing sample. For a product team developing a strap assembly, it may be a drawing and a piece of the intended material. Keep those starting points distinct: matching a photograph, matching dimensions and matching an approved physical sample are different requests. State which one governs your enquiry and which details are still open for discussion.
1. Trace the actual strap path
Begin with a simple sketch showing where the fixed end wraps around the bar, where the free end enters the opening and how the pin meets the strap hole. Include any folded section, keeper or adjacent fitting. The purpose is to make the assembled arrangement understandable, rather than asking a supplier to infer it from a loose buckle photograph.
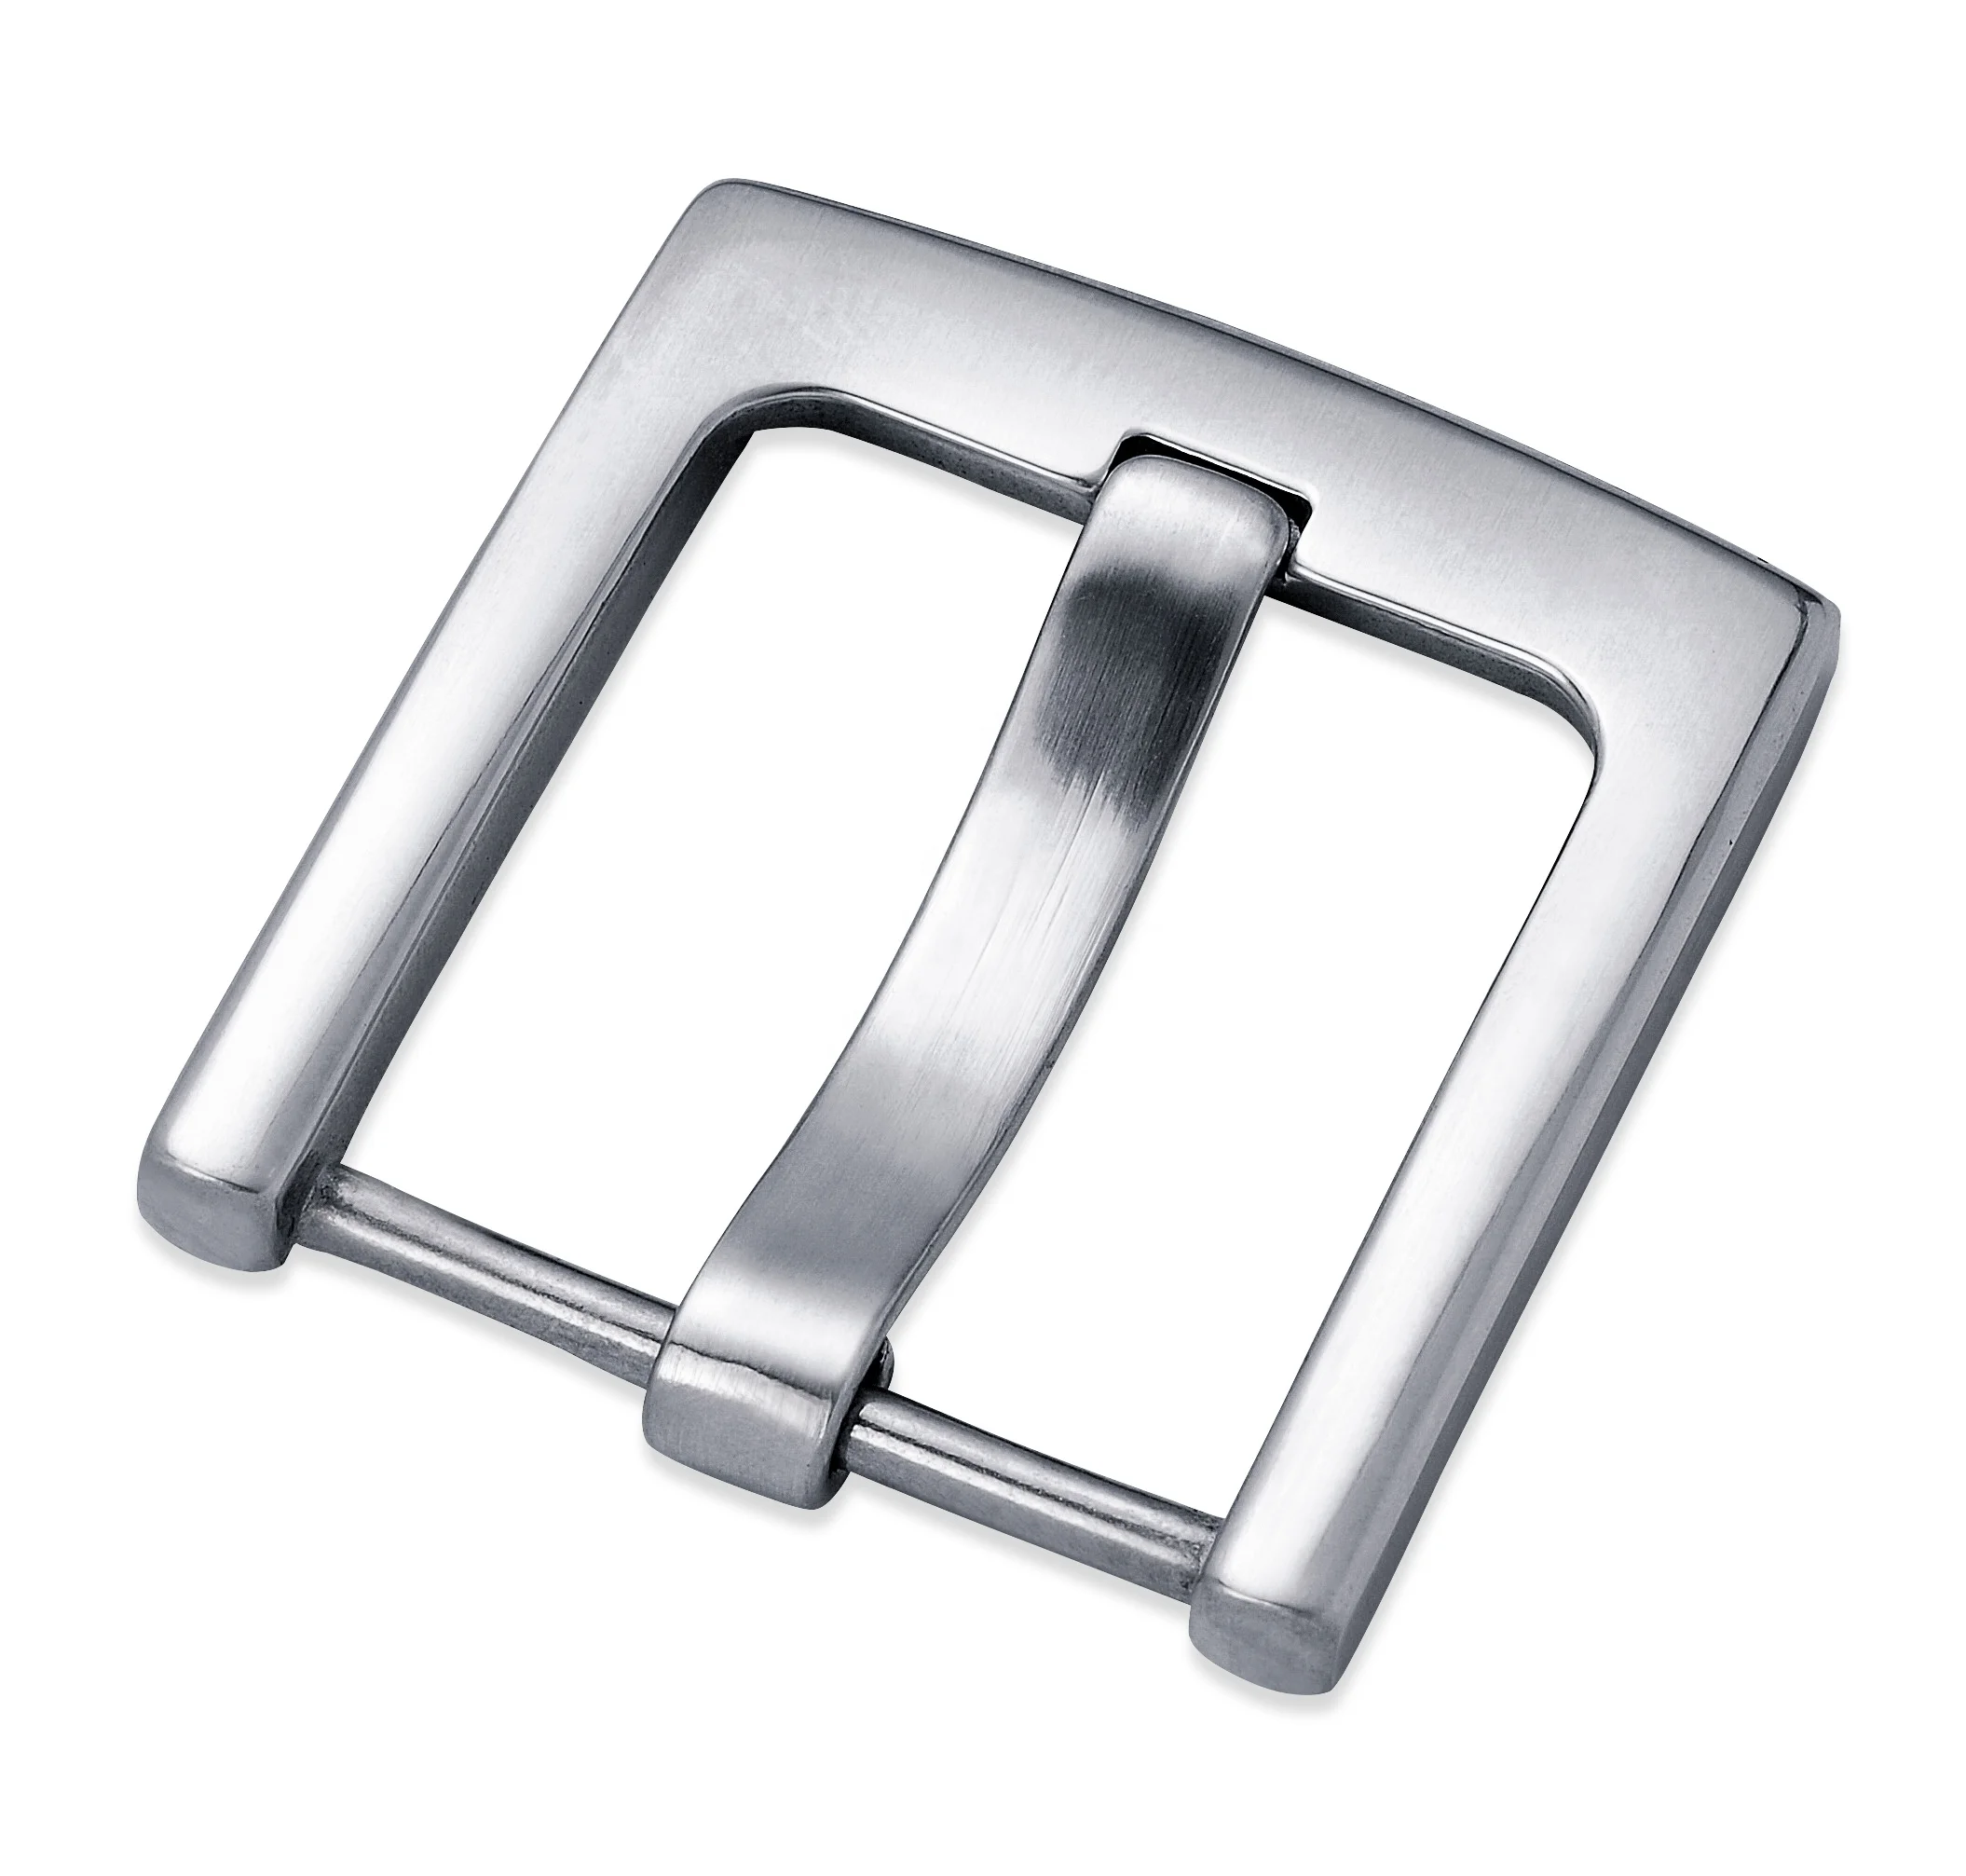
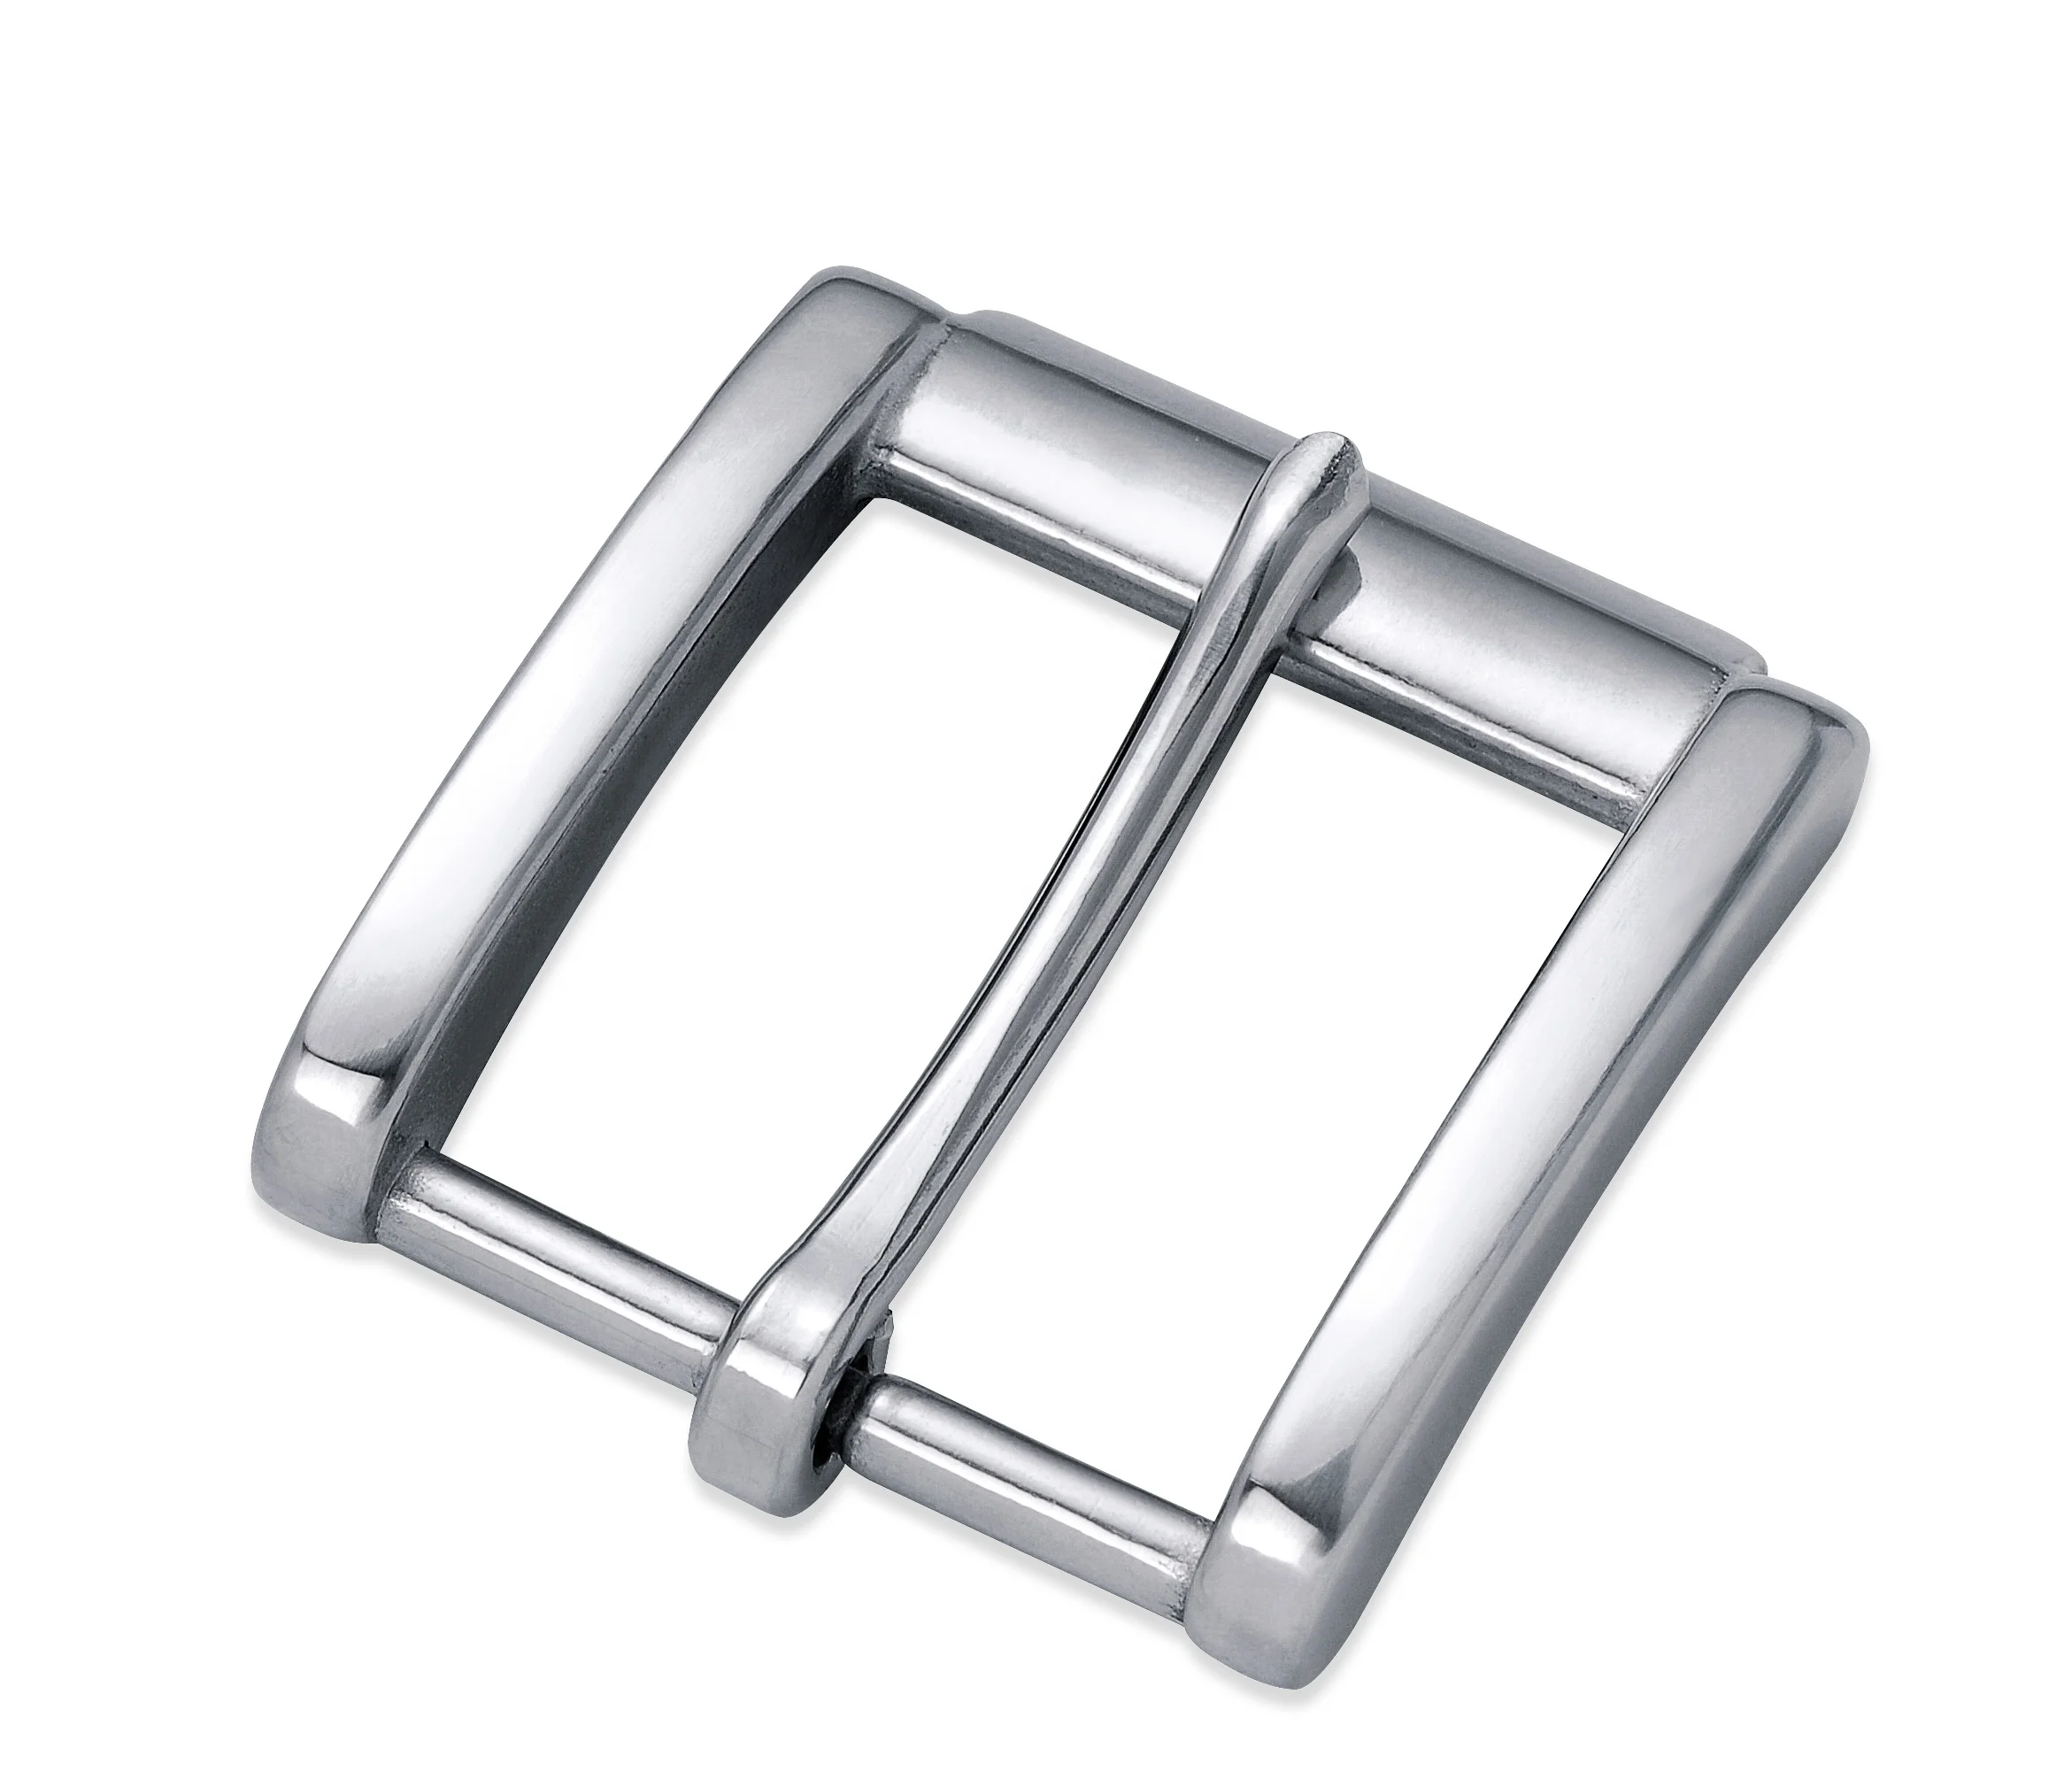
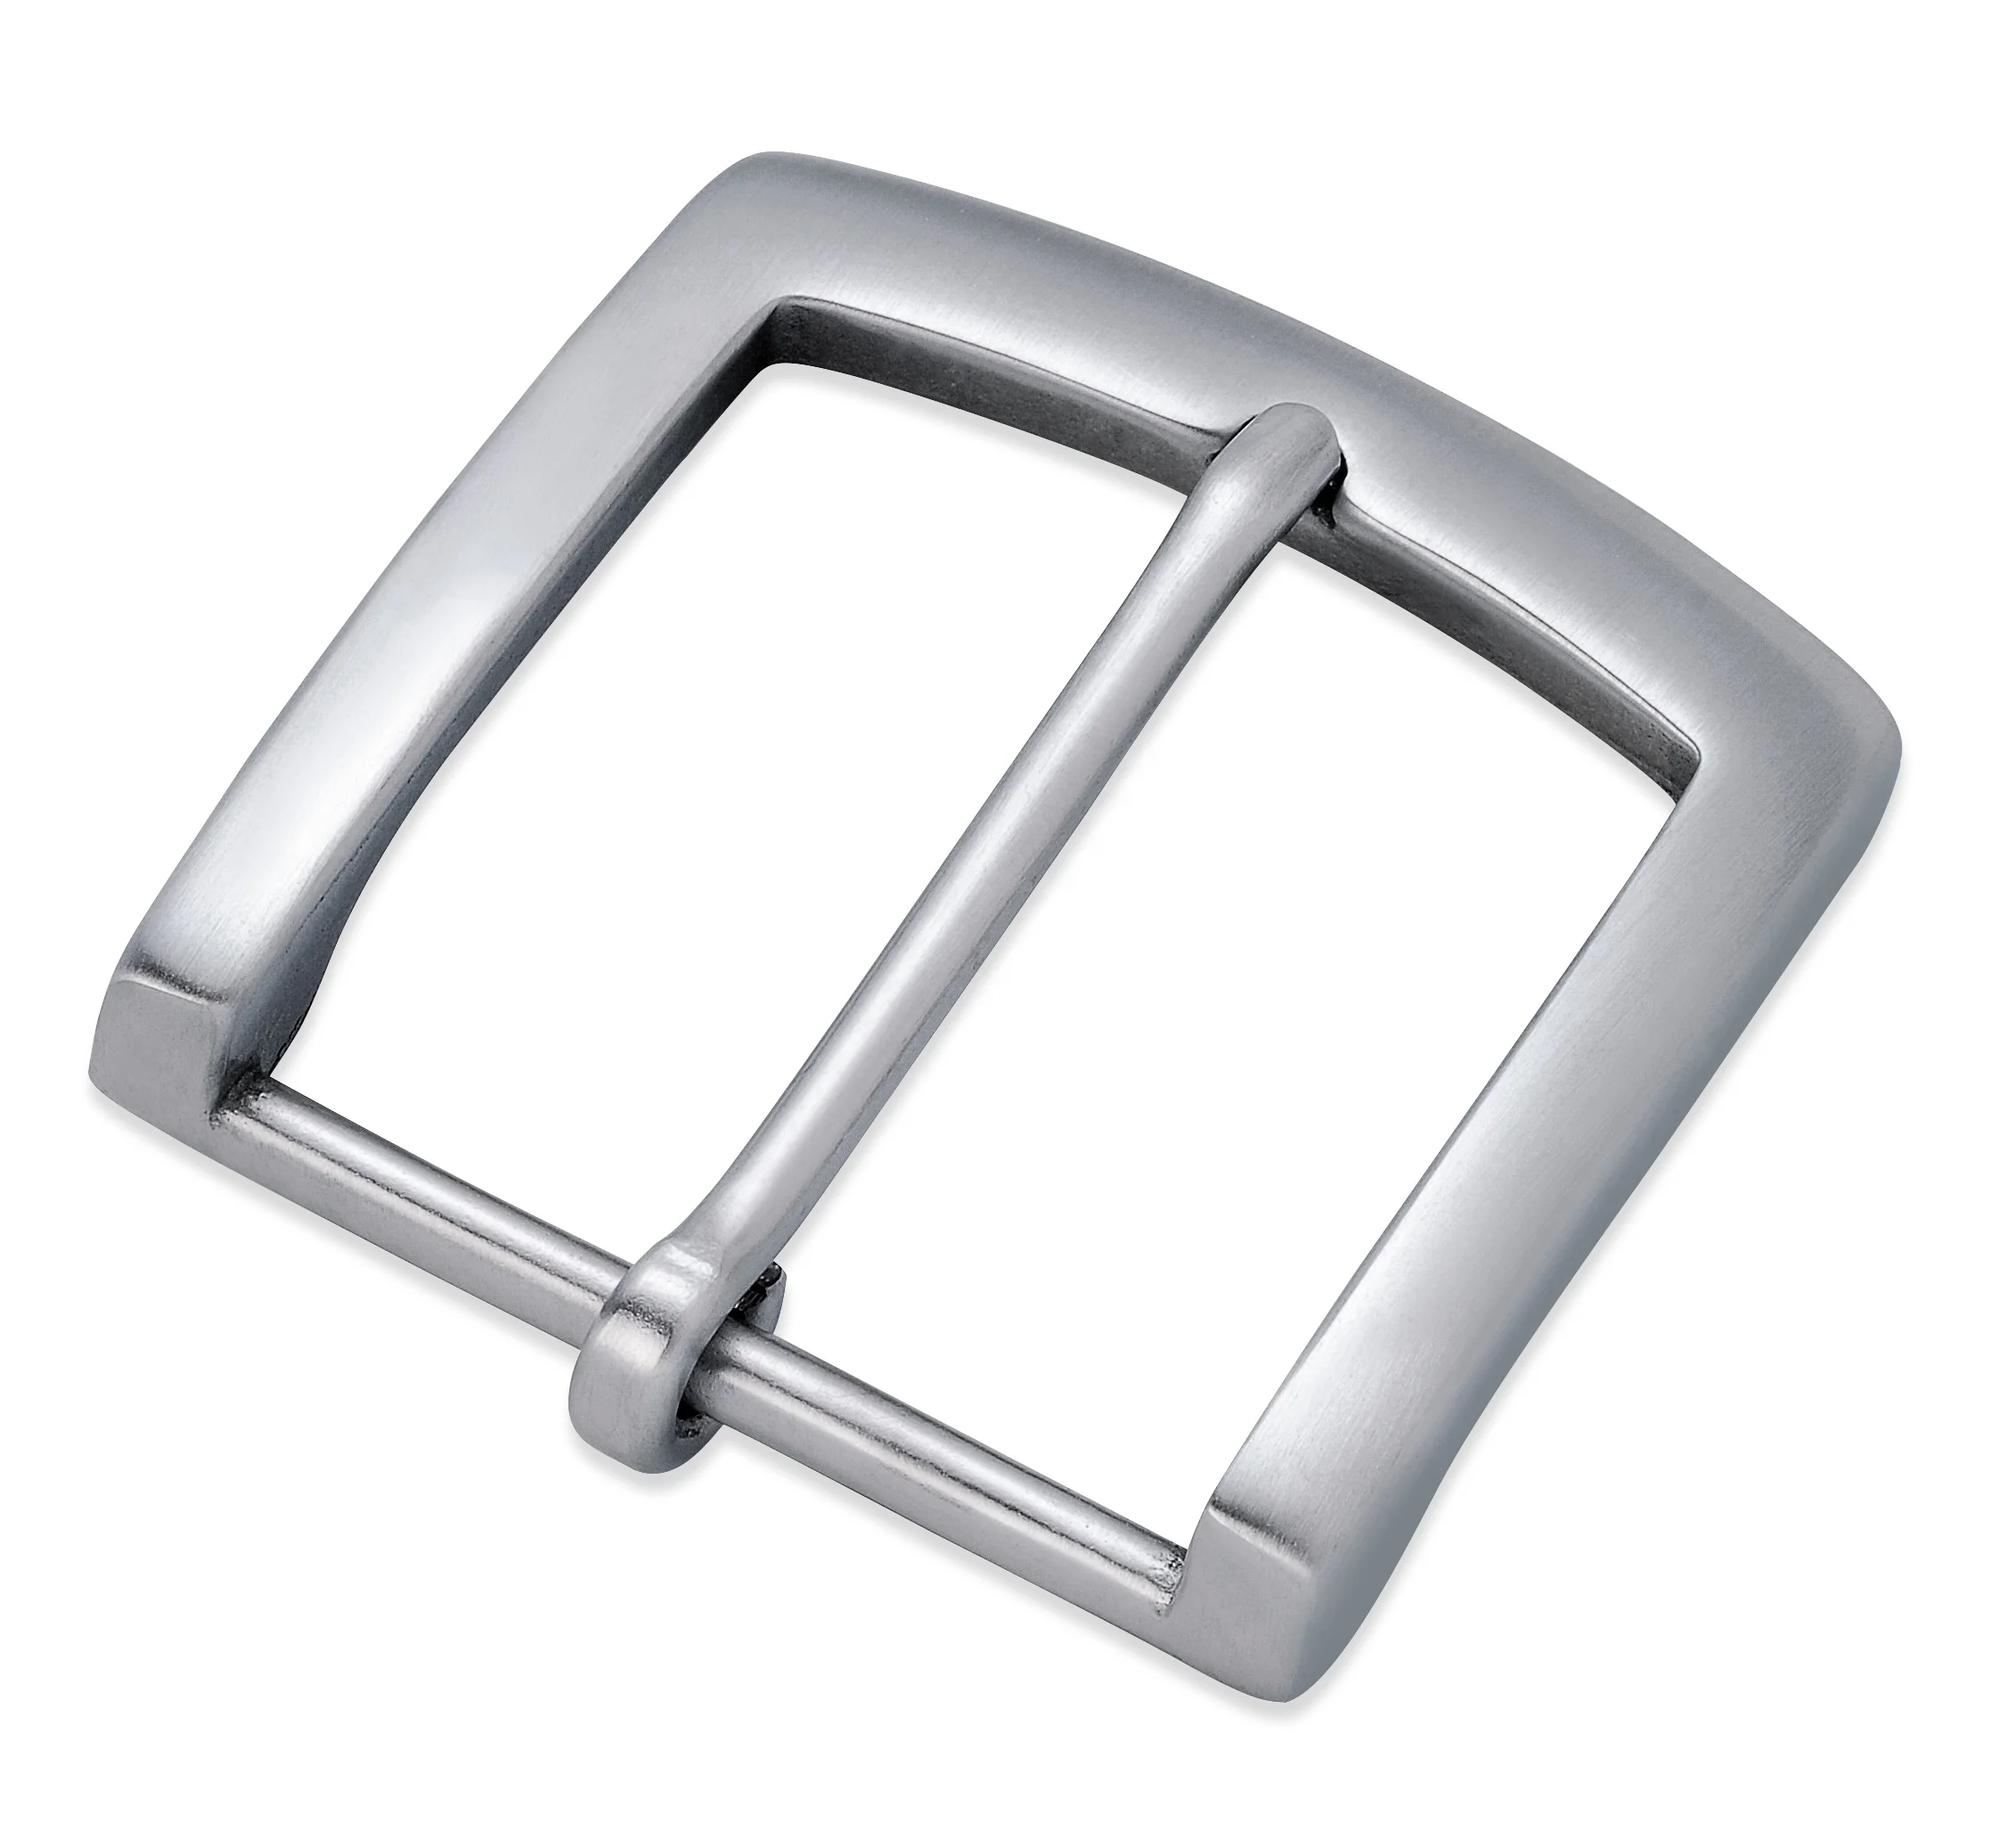
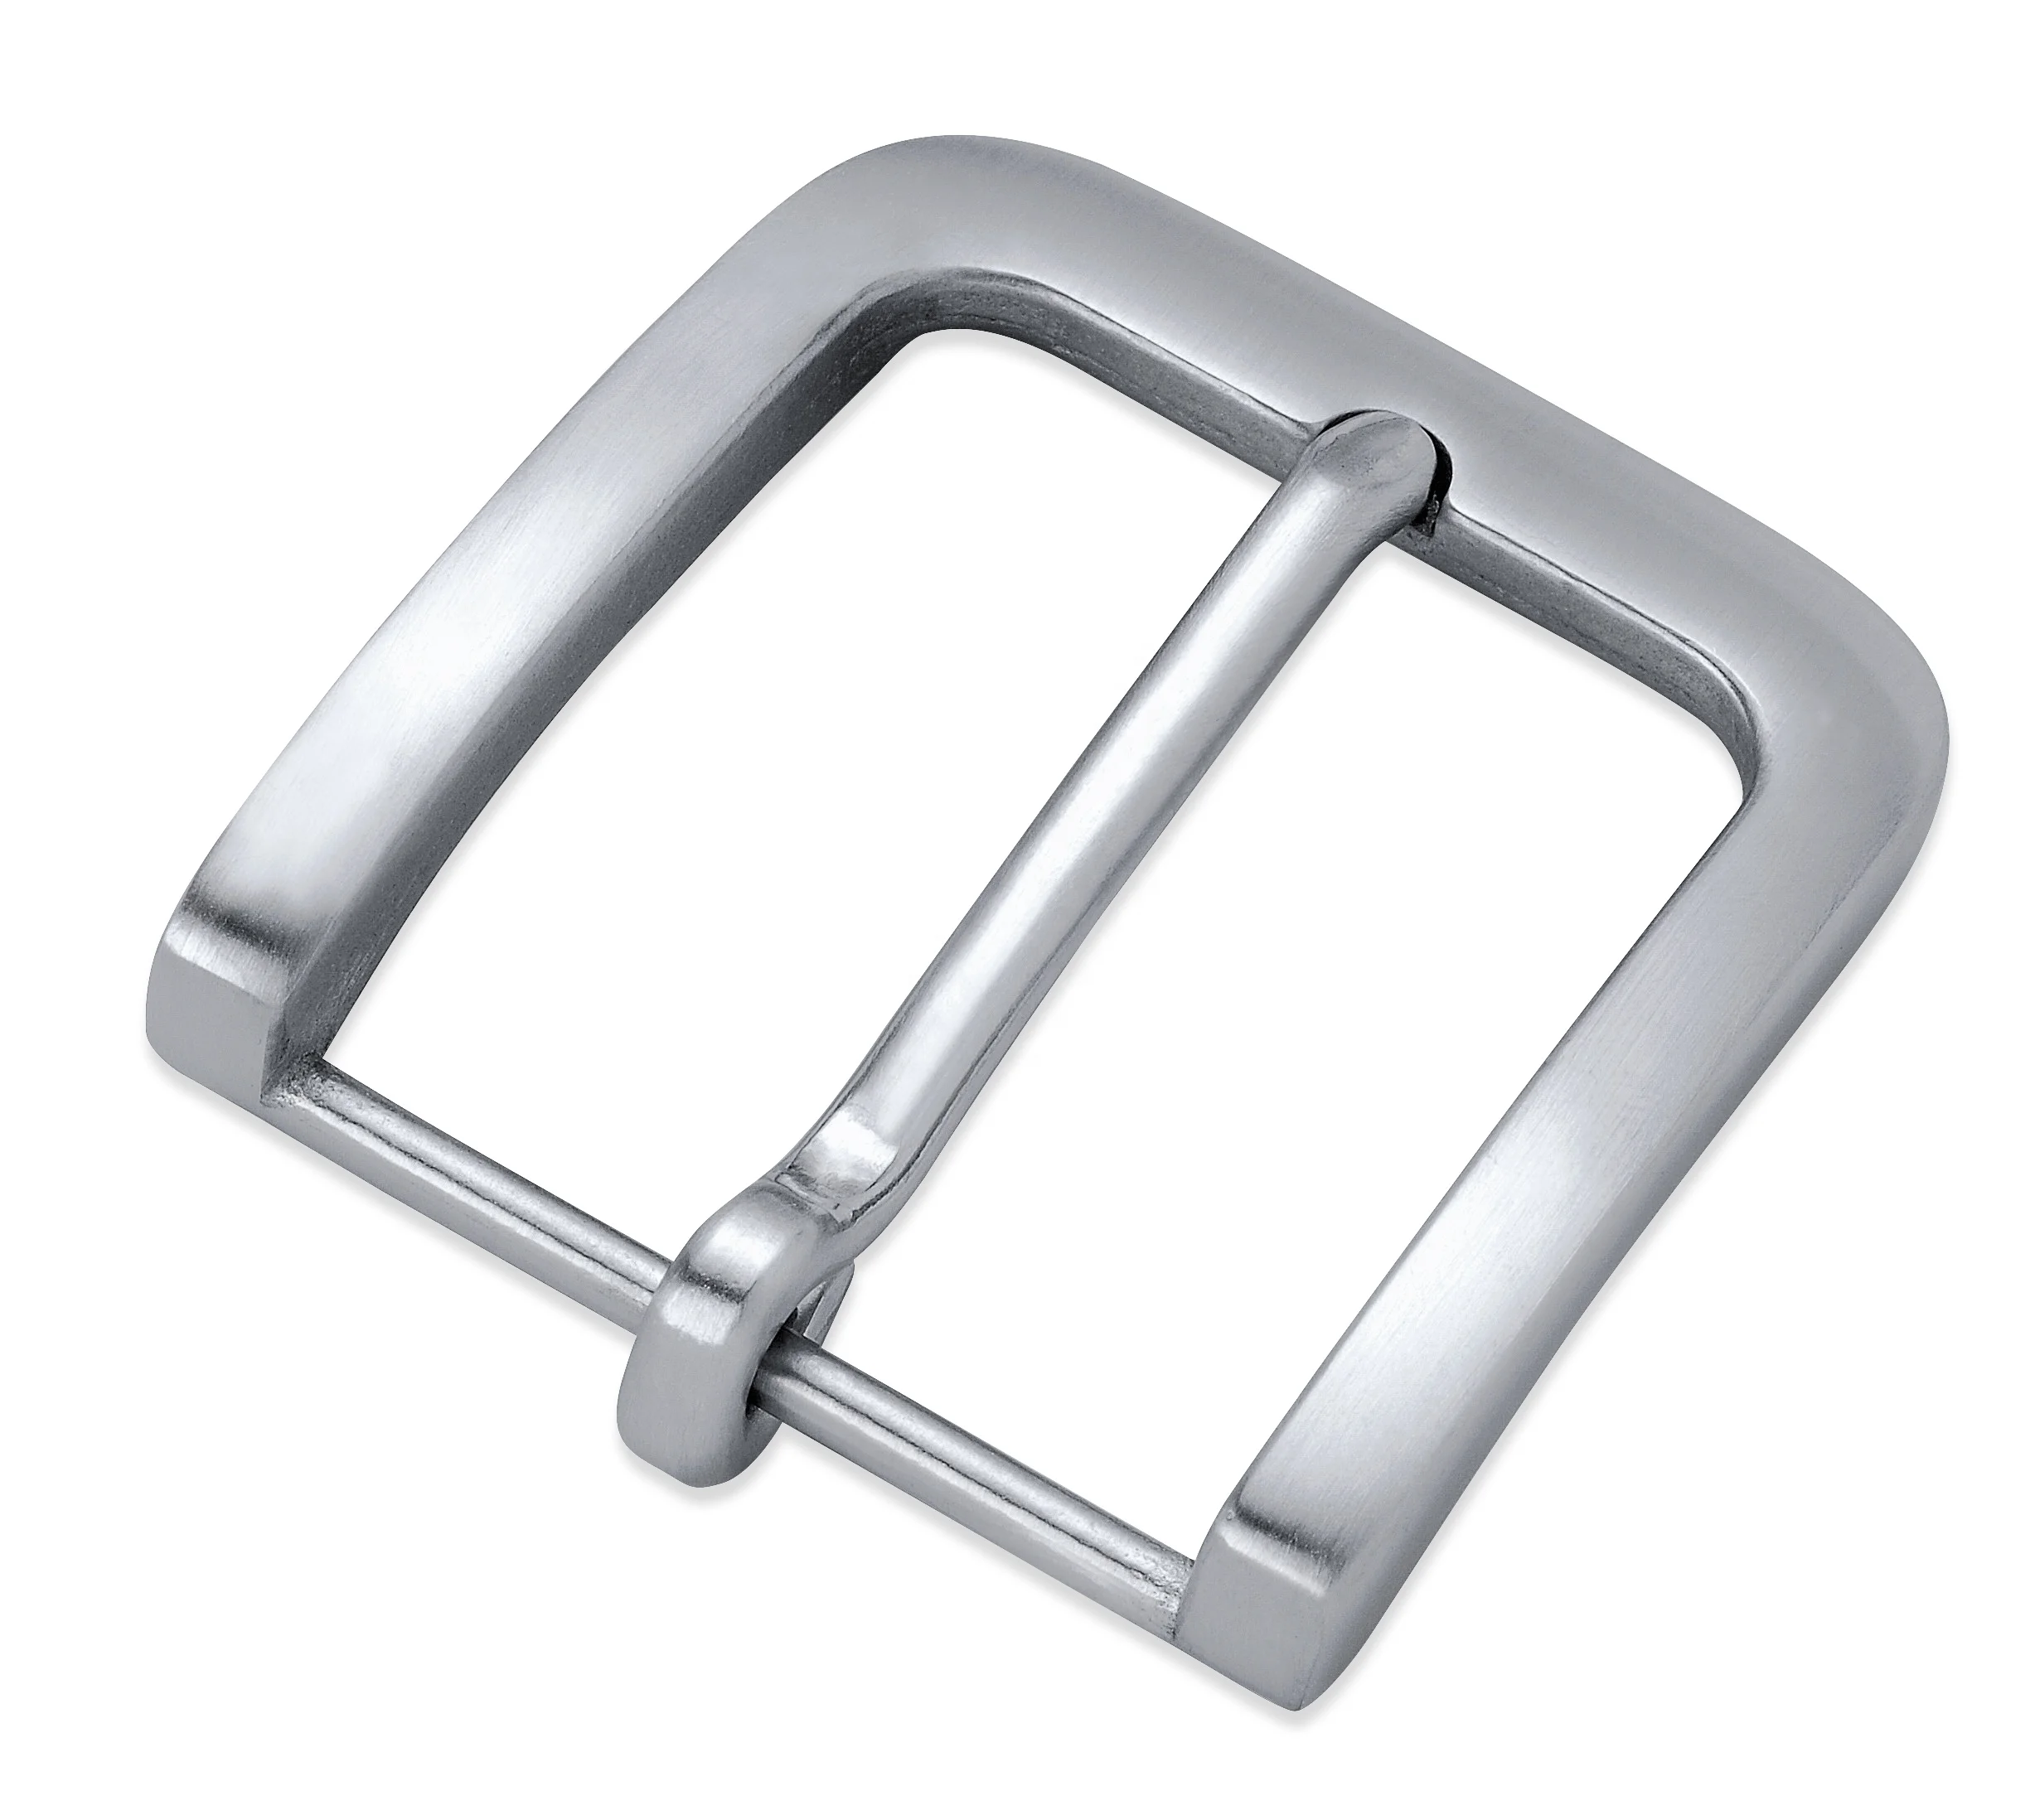
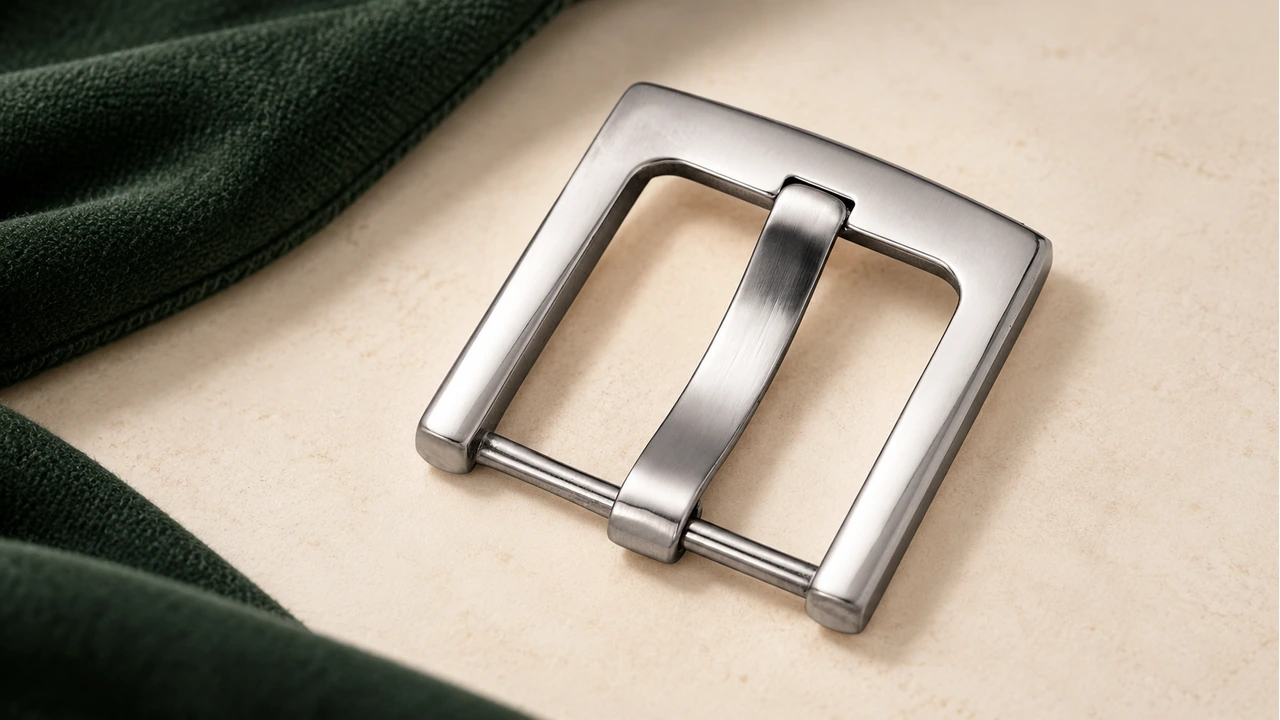
Look closely at the frame shape. A rounded frame and a rectangular frame may have the same quoted nominal size but provide different clear space near the corners. A central bar also divides the available opening. Mark which clear span you mean, and explain whether your drawing shows the buckle on its own or with a strap installed. This distinction matters when someone checks the requested measurement.
If you are replacing a fitting in an existing product, photograph both sides of the assembly before removing it. Record the orientation of the pin and fixed strap end. The rear view may explain a fold or fastening detail that is hidden from the front. Ask for comparison with the selected reference; do not assume that all fittings with a similar outline are interchangeable.
2. Separate clear opening from outside dimensions
Use a measurement key with named features. The clear strap opening is the unobstructed span relevant to the route you have drawn. Outside width and outside length describe the frame envelope. They help with space and appearance comparisons but should not be substituted for the strap opening. Record units next to each value, and attach the same annotated drawing to every quotation revision.
| Feature | What to identify | Reason to record it |
|---|---|---|
| Clear opening | The specific inside span used by the strap | Connects a size request to the intended strap route |
| Outside envelope | Overall width and length, with orientation | Shows the space occupied by the frame |
| Bar section | The shape and dimensions of the strap-bearing bar | Helps explain the fold around the bar |
| Pin arrangement | Pivot, length, tip and resting position | Defines the proposed engagement with the strap hole |
| Assembled thickness | Single and folded sections, where relevant | Makes clearance questions visible |
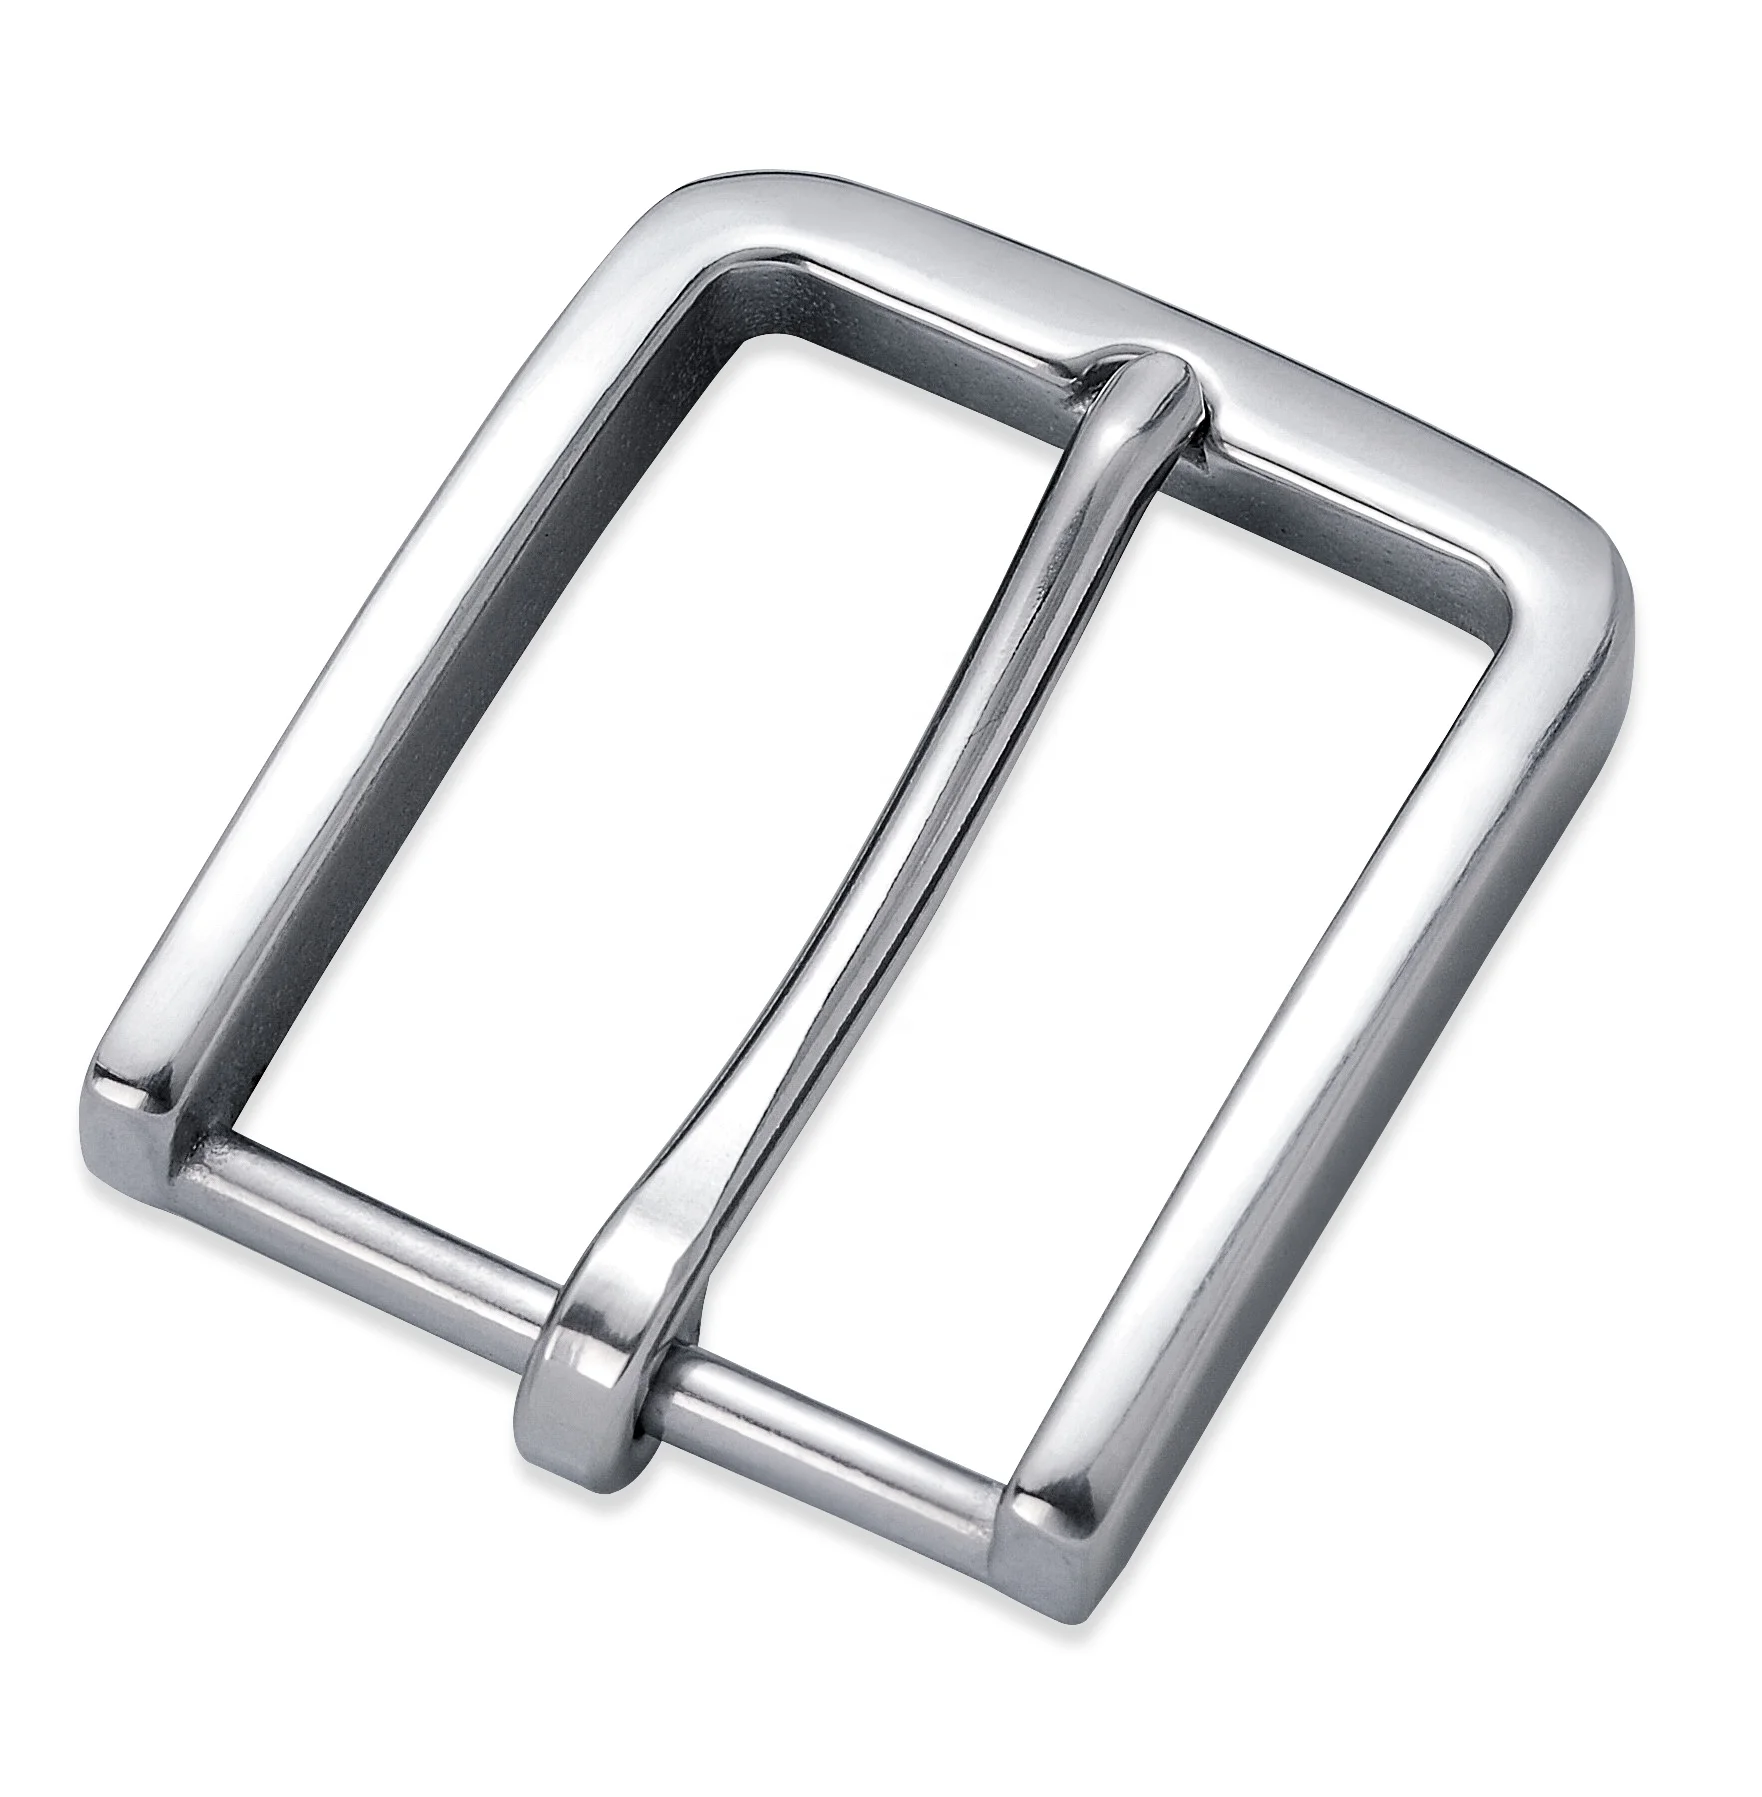
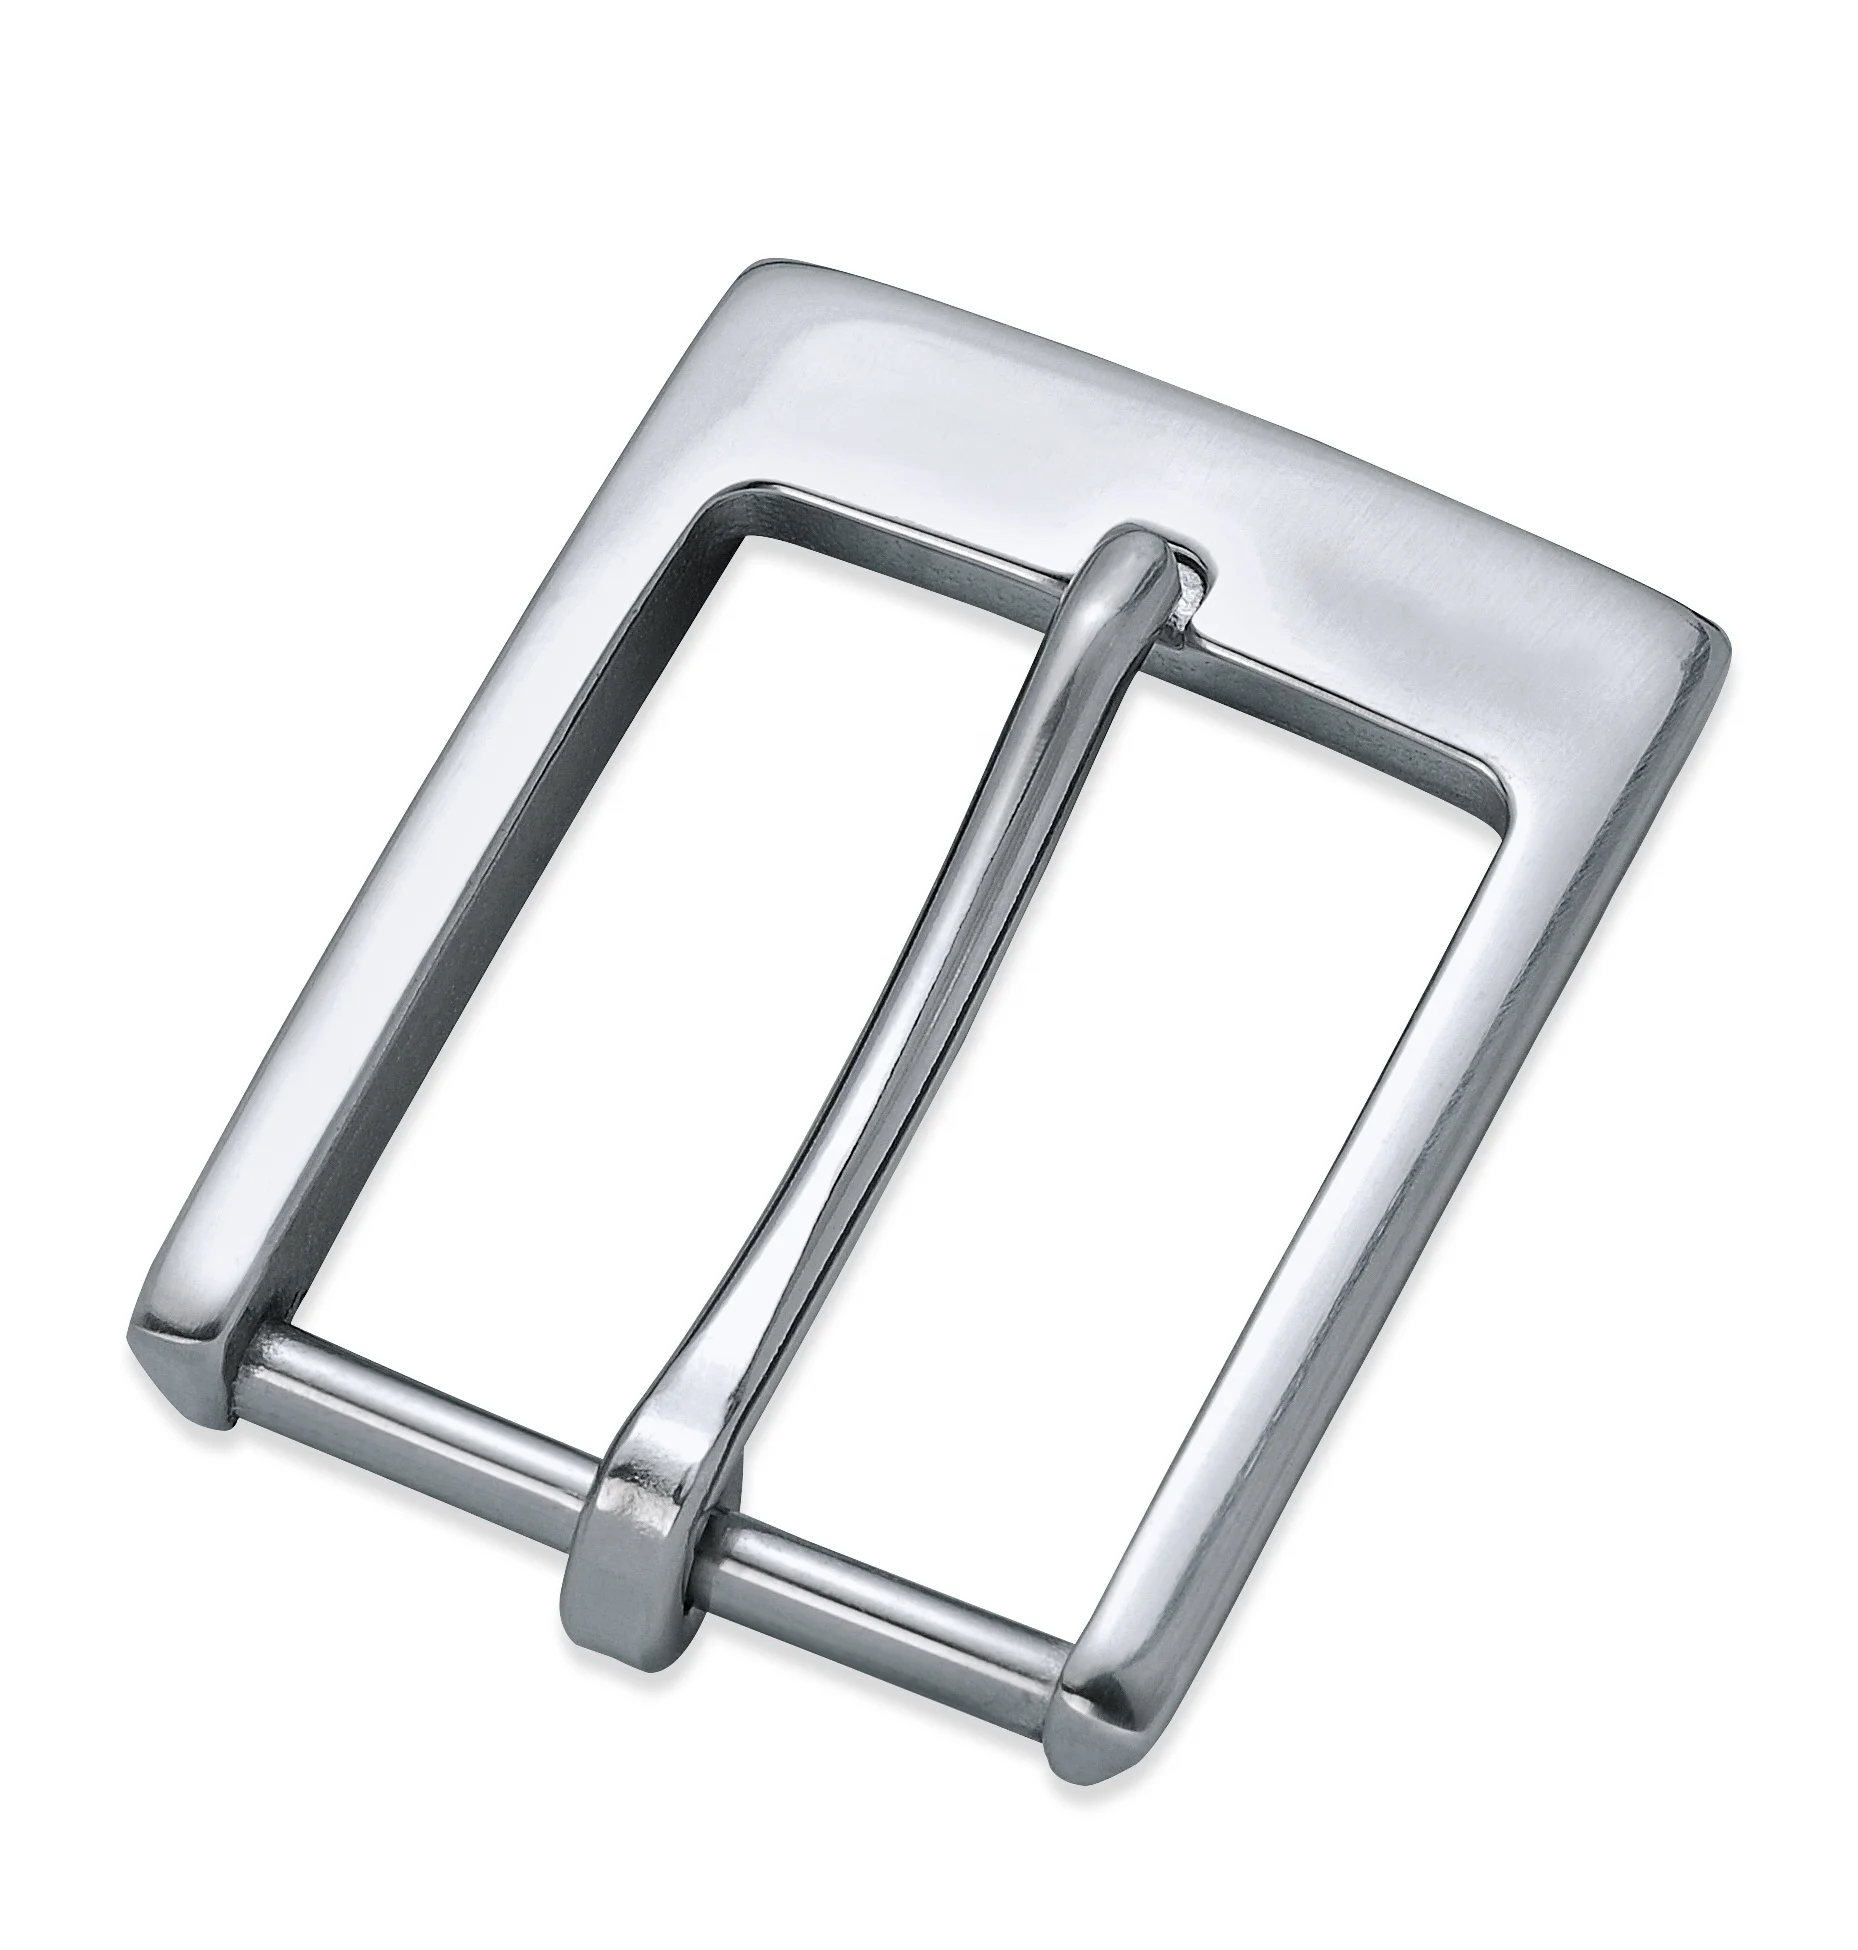
The catalogue includes reference YF103183SS, whose title carries a 41mm size reference and a stainless steel declaration. Treat that number as a feature that still needs locating on the selected drawing. It does not, by itself, tell you the frame envelope, every usable clearance or the composition of every component. A concise enquiry asks which span the number describes and requests the other dimensions needed for the assembly.
3. Check the pin and bar together
The pin should be described as part of an arrangement. Note how it pivots, where its tip rests and how the strap hole is intended to meet it. If the sample has a broad tongue, do not replace that description with a generic request for a fine round pin. Add a close photograph when the shape is important, and identify which face is shown.
Bar shape affects how the fixed end sits around the fitting. Include a side view if the strap is folded, lined or layered. A single thickness measurement taken far from the fold may not describe the assembled area beside the bar. Ask the supplier to review the complete arrangement against the chosen reference, and agree which measurements and sample checks are required before approval.
Pin length, tip shape and strap-hole geometry need to be considered together. Keep the proposed hole size and position on your own assembly drawing. If those details have not been decided, say so rather than filling the fields with guessed values. The supplier can then identify which questions remain unresolved instead of treating an illustrative sketch as a finished specification.
4. Record strap width and thickness as separate inputs
A strap width tells only part of the fit story. Note whether the dimension describes an unfinished strip, a finished strap or the width at a folded attachment. Edge treatment, a lining or another local construction detail may change the assembled form. Describe the actual construction you intend to submit for assessment, using photographs or a sample where a drawing leaves ambiguity.
For thickness, identify the measurement location and whether the material is compressed during measurement. When comparing samples, use a consistent method and record it. This is a practical way to avoid disagreement caused by measuring different parts of a soft or layered assembly. It is not a substitute for agreeing dimensional tolerances or confirming how the product will be inspected.
Keep a proposed tolerance separate from a measured sample value. A sample measurement records one observation; it does not establish the acceptable range for future supply. If your assembly requires a particular clearance, explain that requirement and ask for feasibility to be confirmed. Any accepted dimensions and tolerances should appear in the agreed drawing revision, rather than only in a chat message.
5. Define material, appearance and quantity on their own lines
Material and finish are separate fields. A silver appearance does not establish a stainless steel grade, and an antique brass appearance does not establish a brass base. Reference YF08 is presented as a zinc alloy pin buckle with finish choices. Use the selected reference and actual option label together, then request any component-specific declaration your project needs. Avoid transferring a declaration from another buckle that happens to look similar.
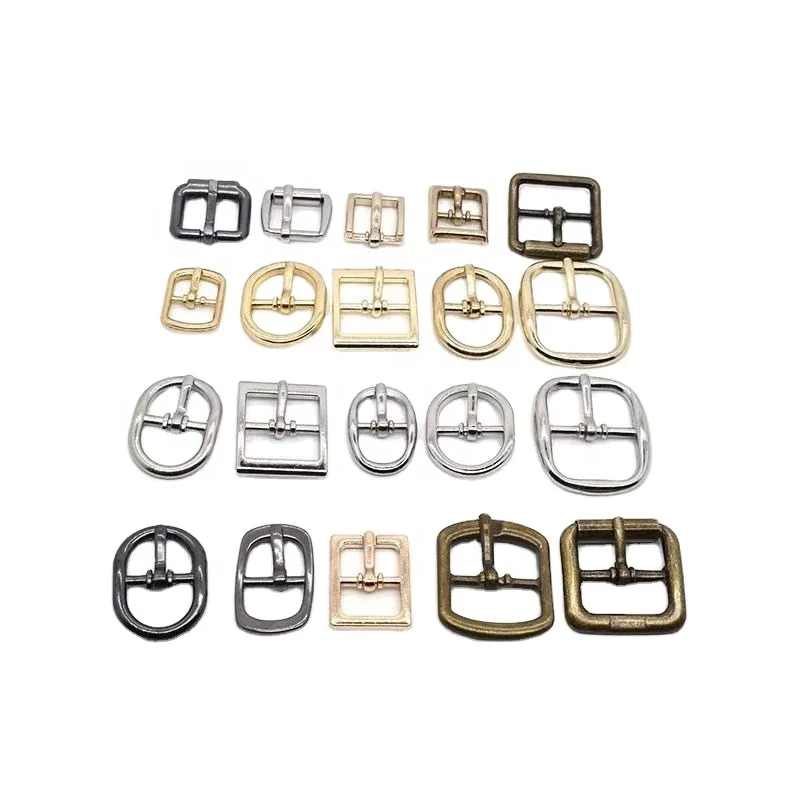
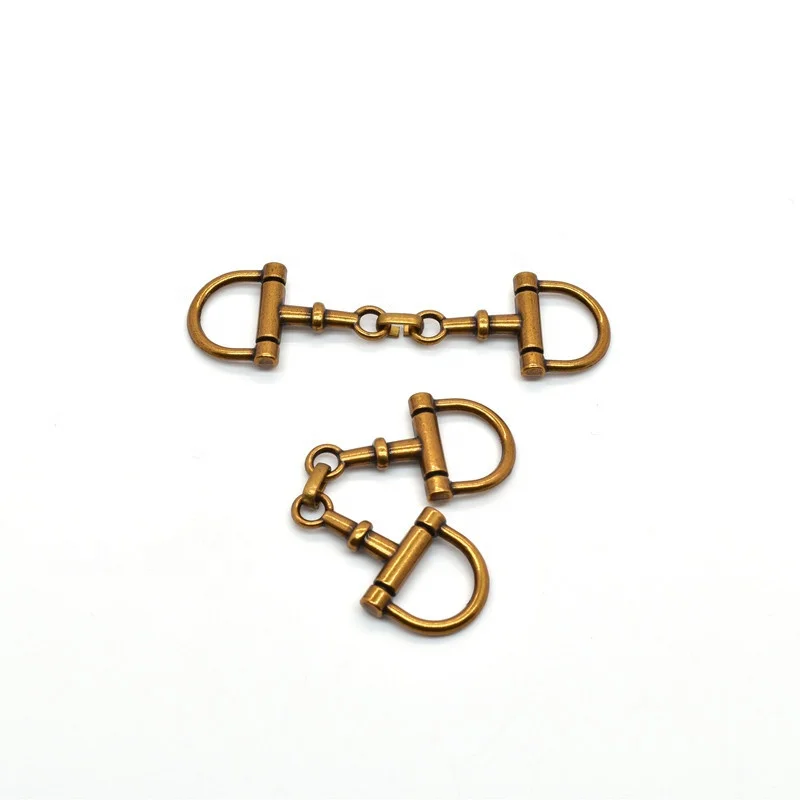
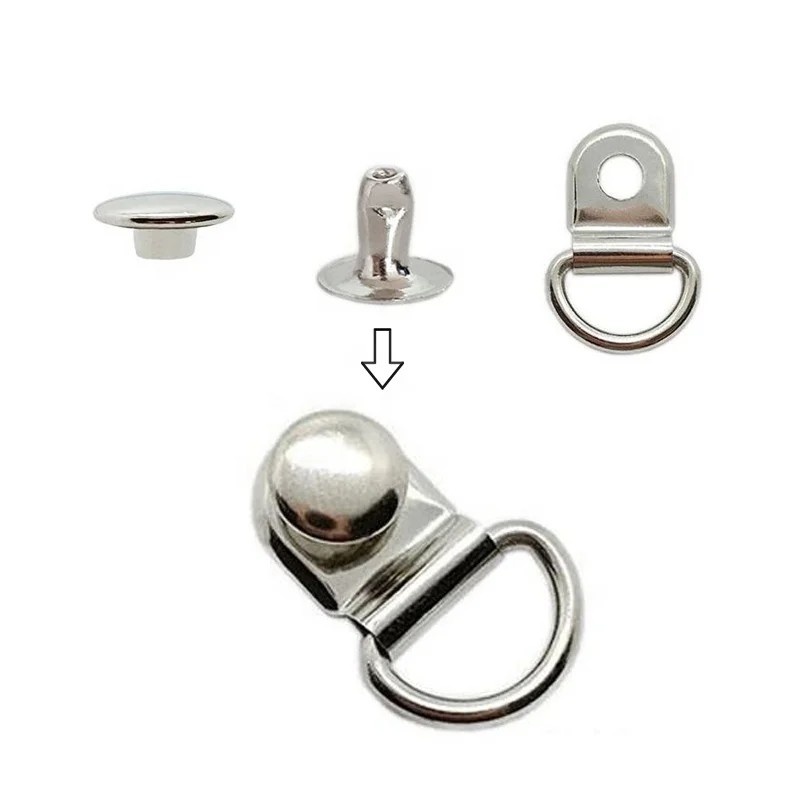
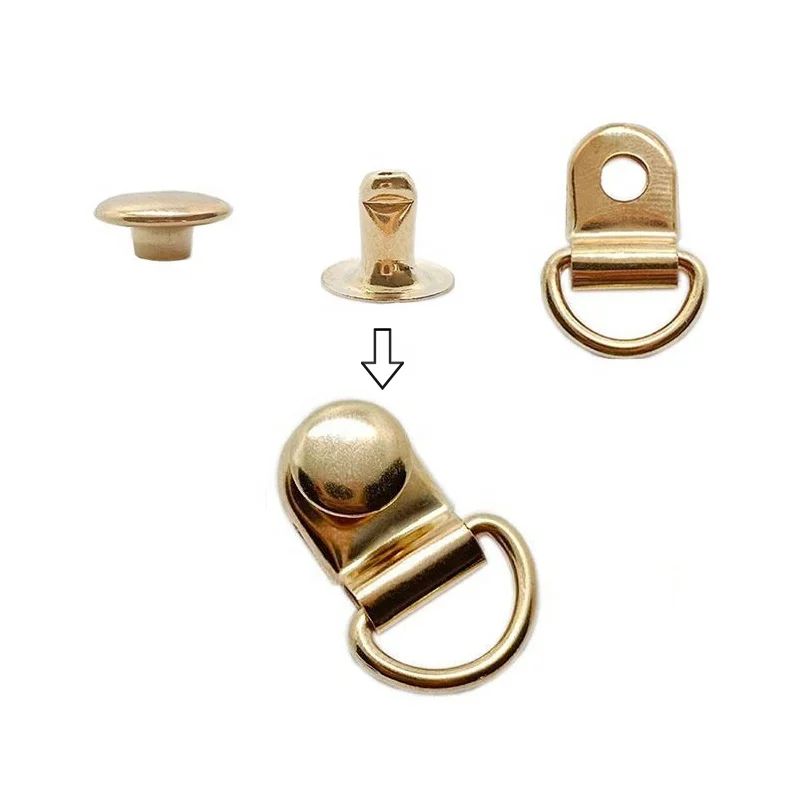
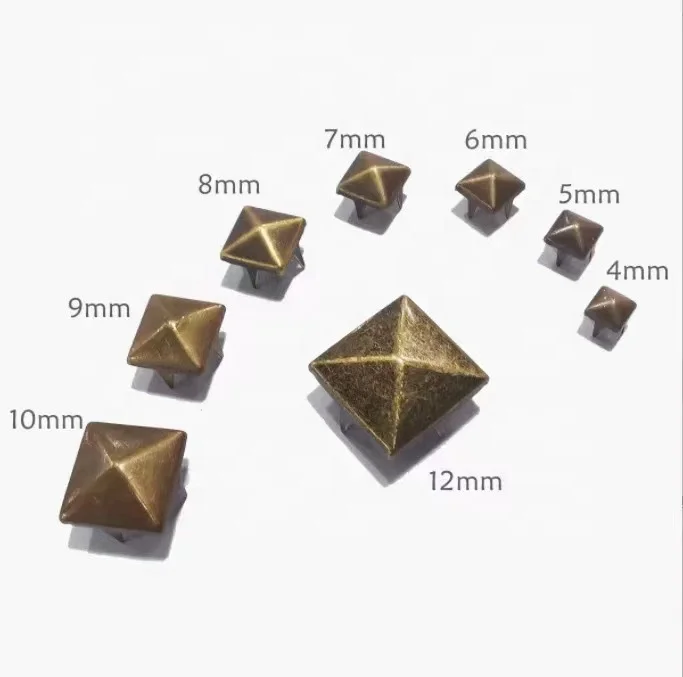
The unit of supply also belongs in the enquiry. Write whether the quantity means individual buckles, packs or assembled strap sets. If a photograph shows several forms or finishes, identify the one you mean and list quantities separately. A group photograph can help compare appearance, but it is not an included-item list or evidence that every pictured option is supplied together.
Packaging requirements should distinguish protection during transport from retail presentation. If you need a particular bag, label or counted pack, describe it as a request and ask whether it can be accepted for the selected item and quantity. Leave commercial conditions, sample availability and delivery arrangements for confirmation rather than assuming they follow from a catalogue image.
A compact drawing key for your enquiry
You can use letters instead of inventing a numerical dimension diagram. On a front view, label A as the intended clear strap span and B as the outside width. On a side or detail view, label C as the bar section, D as the relevant pin detail and E as the assembled strap thickness. Explain each letter in a small table. The supplier can then return values or comments against the same key.
- Attach the product link and selected option label.
- Show front, rear and side views where each resolves a real question.
- Mark the intended strap path and identify each dimension.
- State the strap construction and any sample available for comparison.
- Separate required values from details that need supplier confirmation.
- Record the drawing revision, requested quantity and destination.
For a mixed hardware enquiry, repeat this small record for each reference instead of combining several forms into one general description. It makes replies easier to compare because a comment about one buckle cannot accidentally become the specification for another. Keep an approval record tied to the exact reference, selected appearance and drawing revision.
Keep a comparison sheet for repeat orders
For repeat purchasing, retain a small comparison sheet with the supplier reference, your internal code, the agreed drawing revision and the selected finish. Add the date of any accepted sample and note which checks were completed. This gives a later enquiry a clear starting point without requiring the next person to reconstruct the specification from old photographs and messages.
If a new reference is proposed as an alternative, compare the same named features before deciding whether it meets the request. Ask about any difference at the pin, bar, corners or supplied configuration even when the nominal size matches. A replacement discussion is easier to review when changes are listed explicitly. Keep the old and new records separate until the alternative has been assessed and accepted for the intended product.
Turn the comparison into a clear next step
Browse buckles and strap adjusters to shortlist the relevant form, then use the product selection guide to organize the remaining specification questions. Send Relia the selected buckle link and a marked drawing through the enquiry form. Include the proposed quantity and destination so the technical and commercial parts of the request can be reviewed together.
A useful response should let you distinguish the proposed item, unresolved dimensions and any documentation still required. Review those points before treating a quotation as an approved assembly. This guide helps organize a sourcing request; a catalogue name, photograph or nominal size does not establish load capacity, certified performance or suitability for a particular finished product.